Old-Fashioned Cherry Pie
I’ve included some videos I found relevant and helpful. 😍

Old-fashioned cherry pie is a classic dessert that brings back sweet memories. You can make this tasty treat at home with fresh cherries, sugar, and a flaky crust. This homemade cherry pie recipe takes about 7 hours from start to finish, including cooling time, and serves 8-10 people.
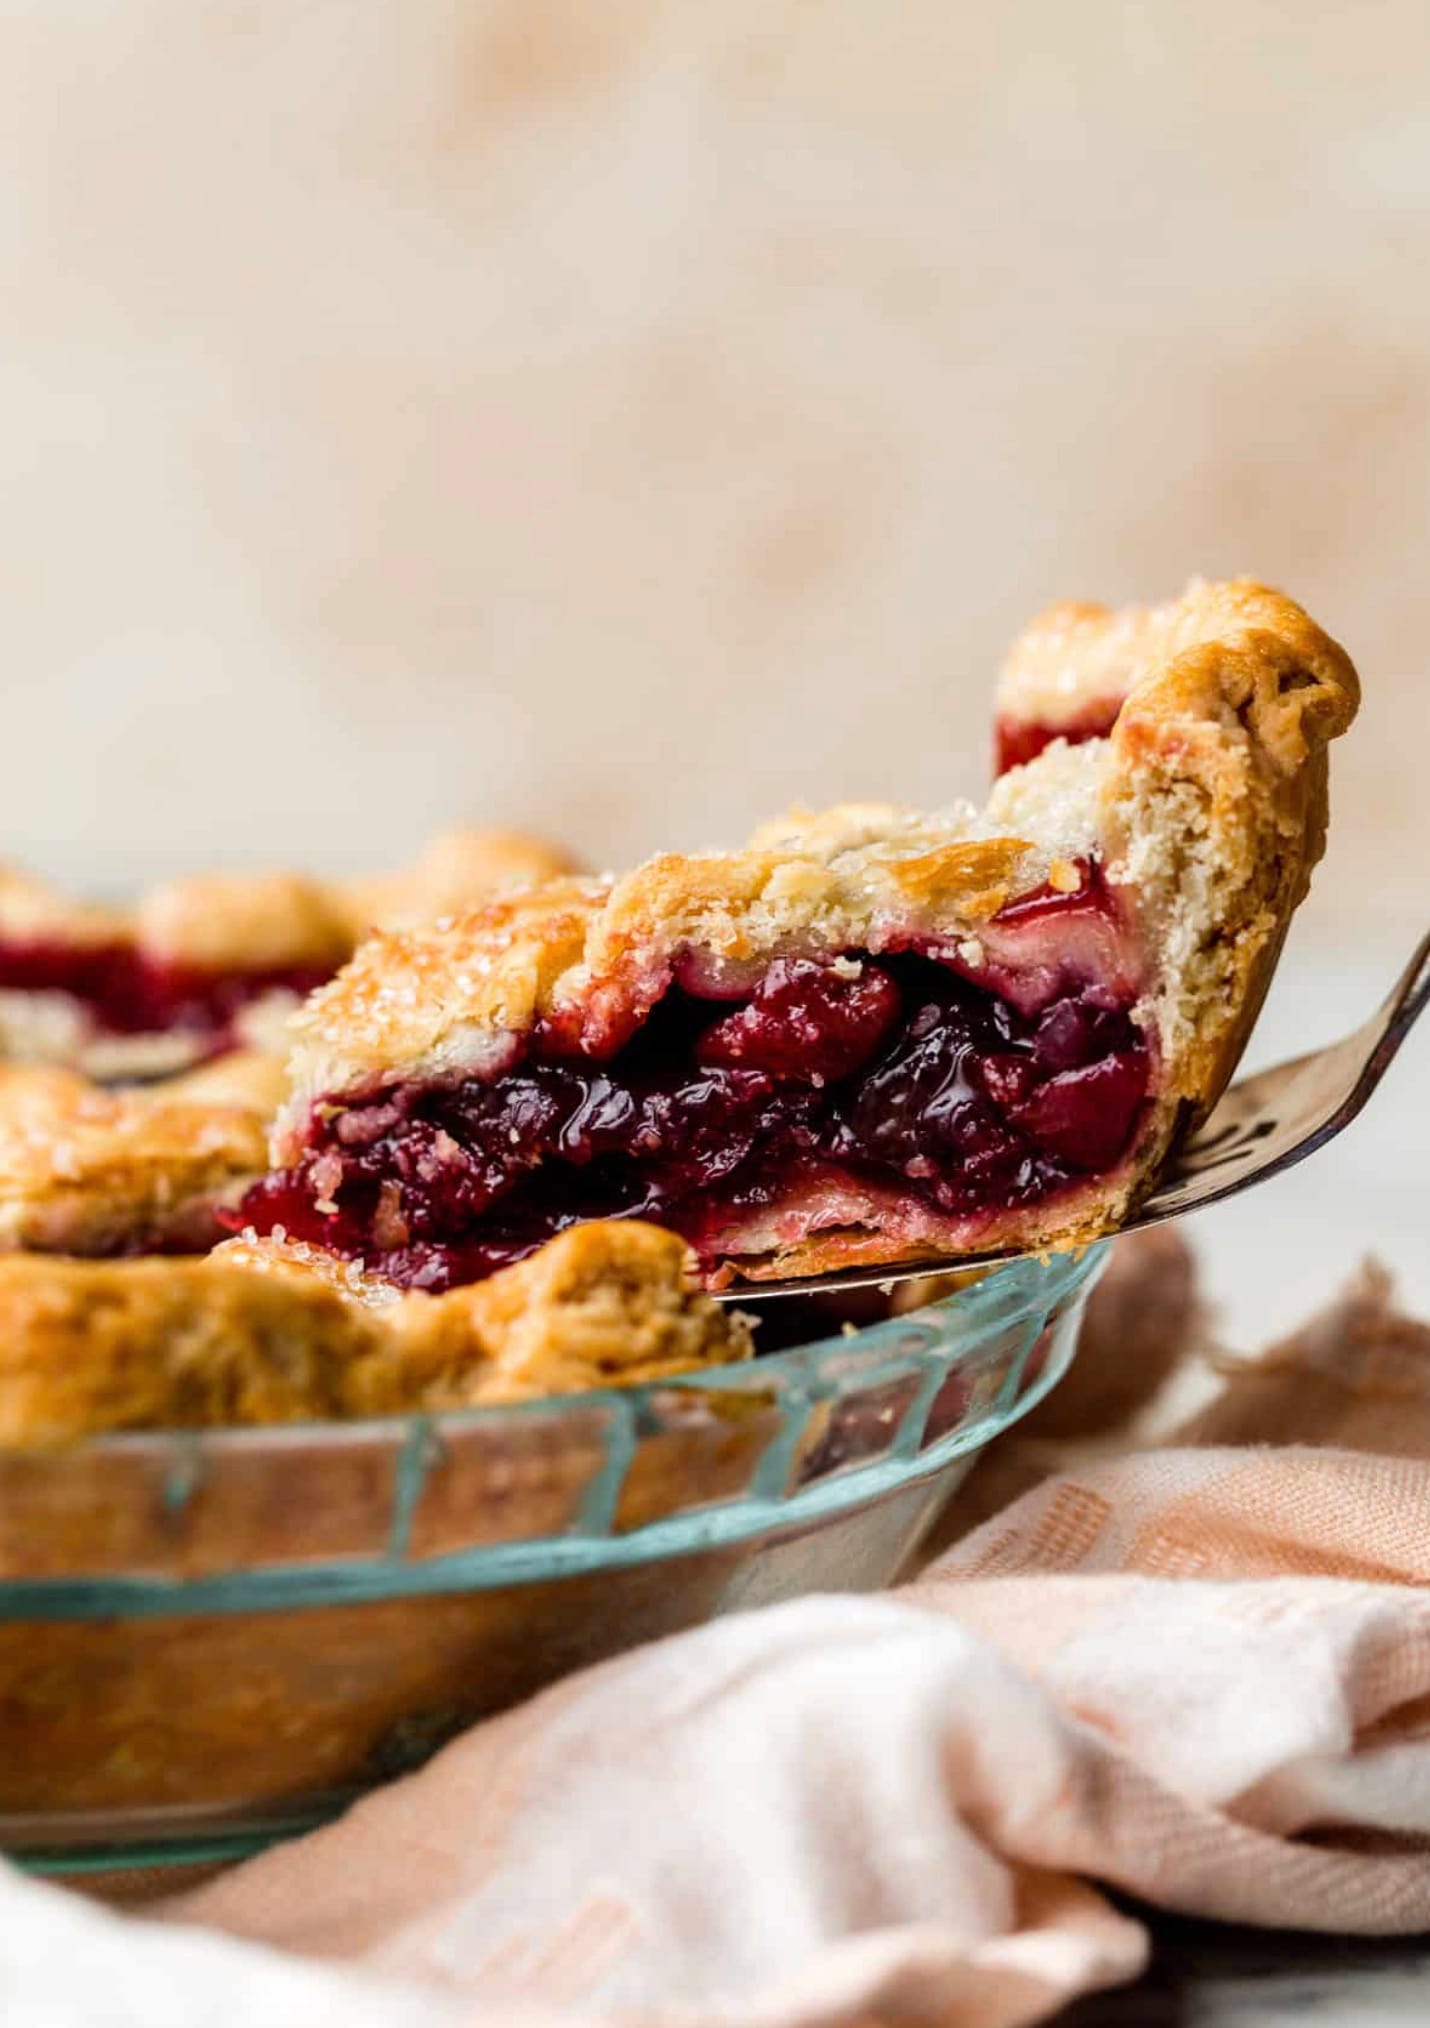
The secret to a perfect cherry pie is in the filling. You’ll mix halved and quartered cherries with sugar, cornstarch, lemon juice, and a hint of almond extract. This combo creates a thick, juicy filling that stays put when you slice the pie. The buttery, golden-brown crust adds the perfect crunch to every bite.
Exact Ingredients List
Here’s what you’ll need to make this delicious old-fashioned cherry pie:
For the crust:
- 2 pie crusts (homemade or store-bought)
For the filling:
- 4 1/2 cups fresh cherries, pitted and halved/quartered
- 2/3 cup (135g) granulated sugar
- 1/4 cup (28g) cornstarch
- 1 tablespoon lemon juice
- 1 teaspoon vanilla extract
- 1/4 teaspoon almond extract
- 1 tablespoon cold unsalted butter, cubed
For the topping:
- 1 large egg (for egg wash)
- 1 tablespoon milk (for egg wash)
- Coarse sugar (optional, for sprinkling)
Remember to have flour on hand for rolling out your dough. You’ll also need a 9-inch pie dish and a baking sheet. Don’t forget to grab a pastry brush for the egg wash!
This recipe yields 8-10 servings, perfect for sharing with family and friends. The prep time is about 3 hours, and it bakes for 55 minutes. Including cooling time, the total time is around 7 hours.
Instructions
Preheat your oven to 400°F (204°C). Get ready to make a delicious cherry pie!
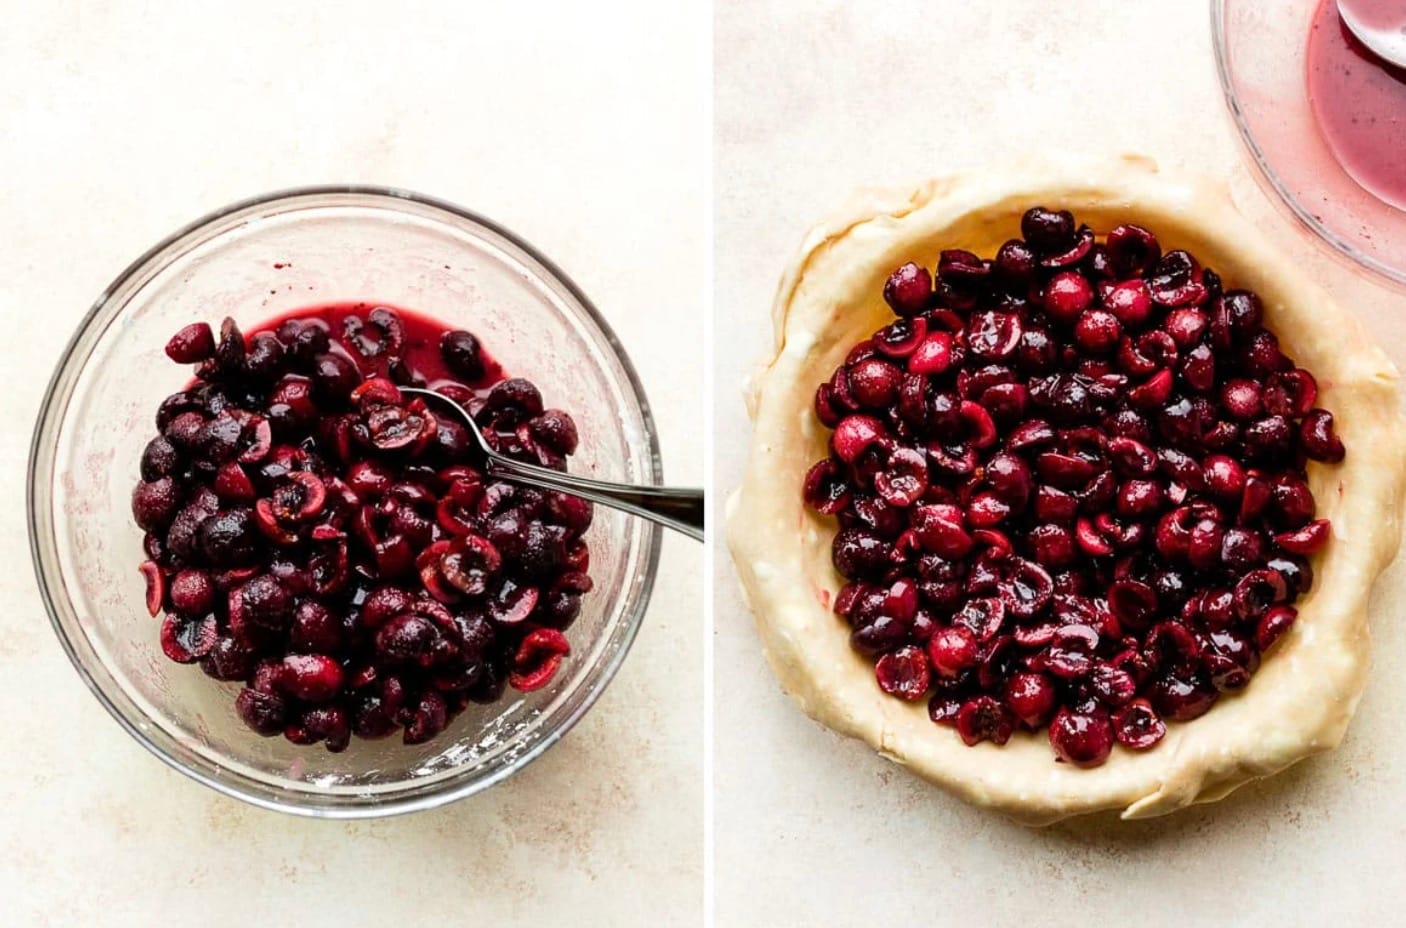
Mix the filling first. In a big bowl, stir together cherries, sugar, cornstarch, lemon juice, vanilla, and almond extract. Cover and chill while you work on the crust.
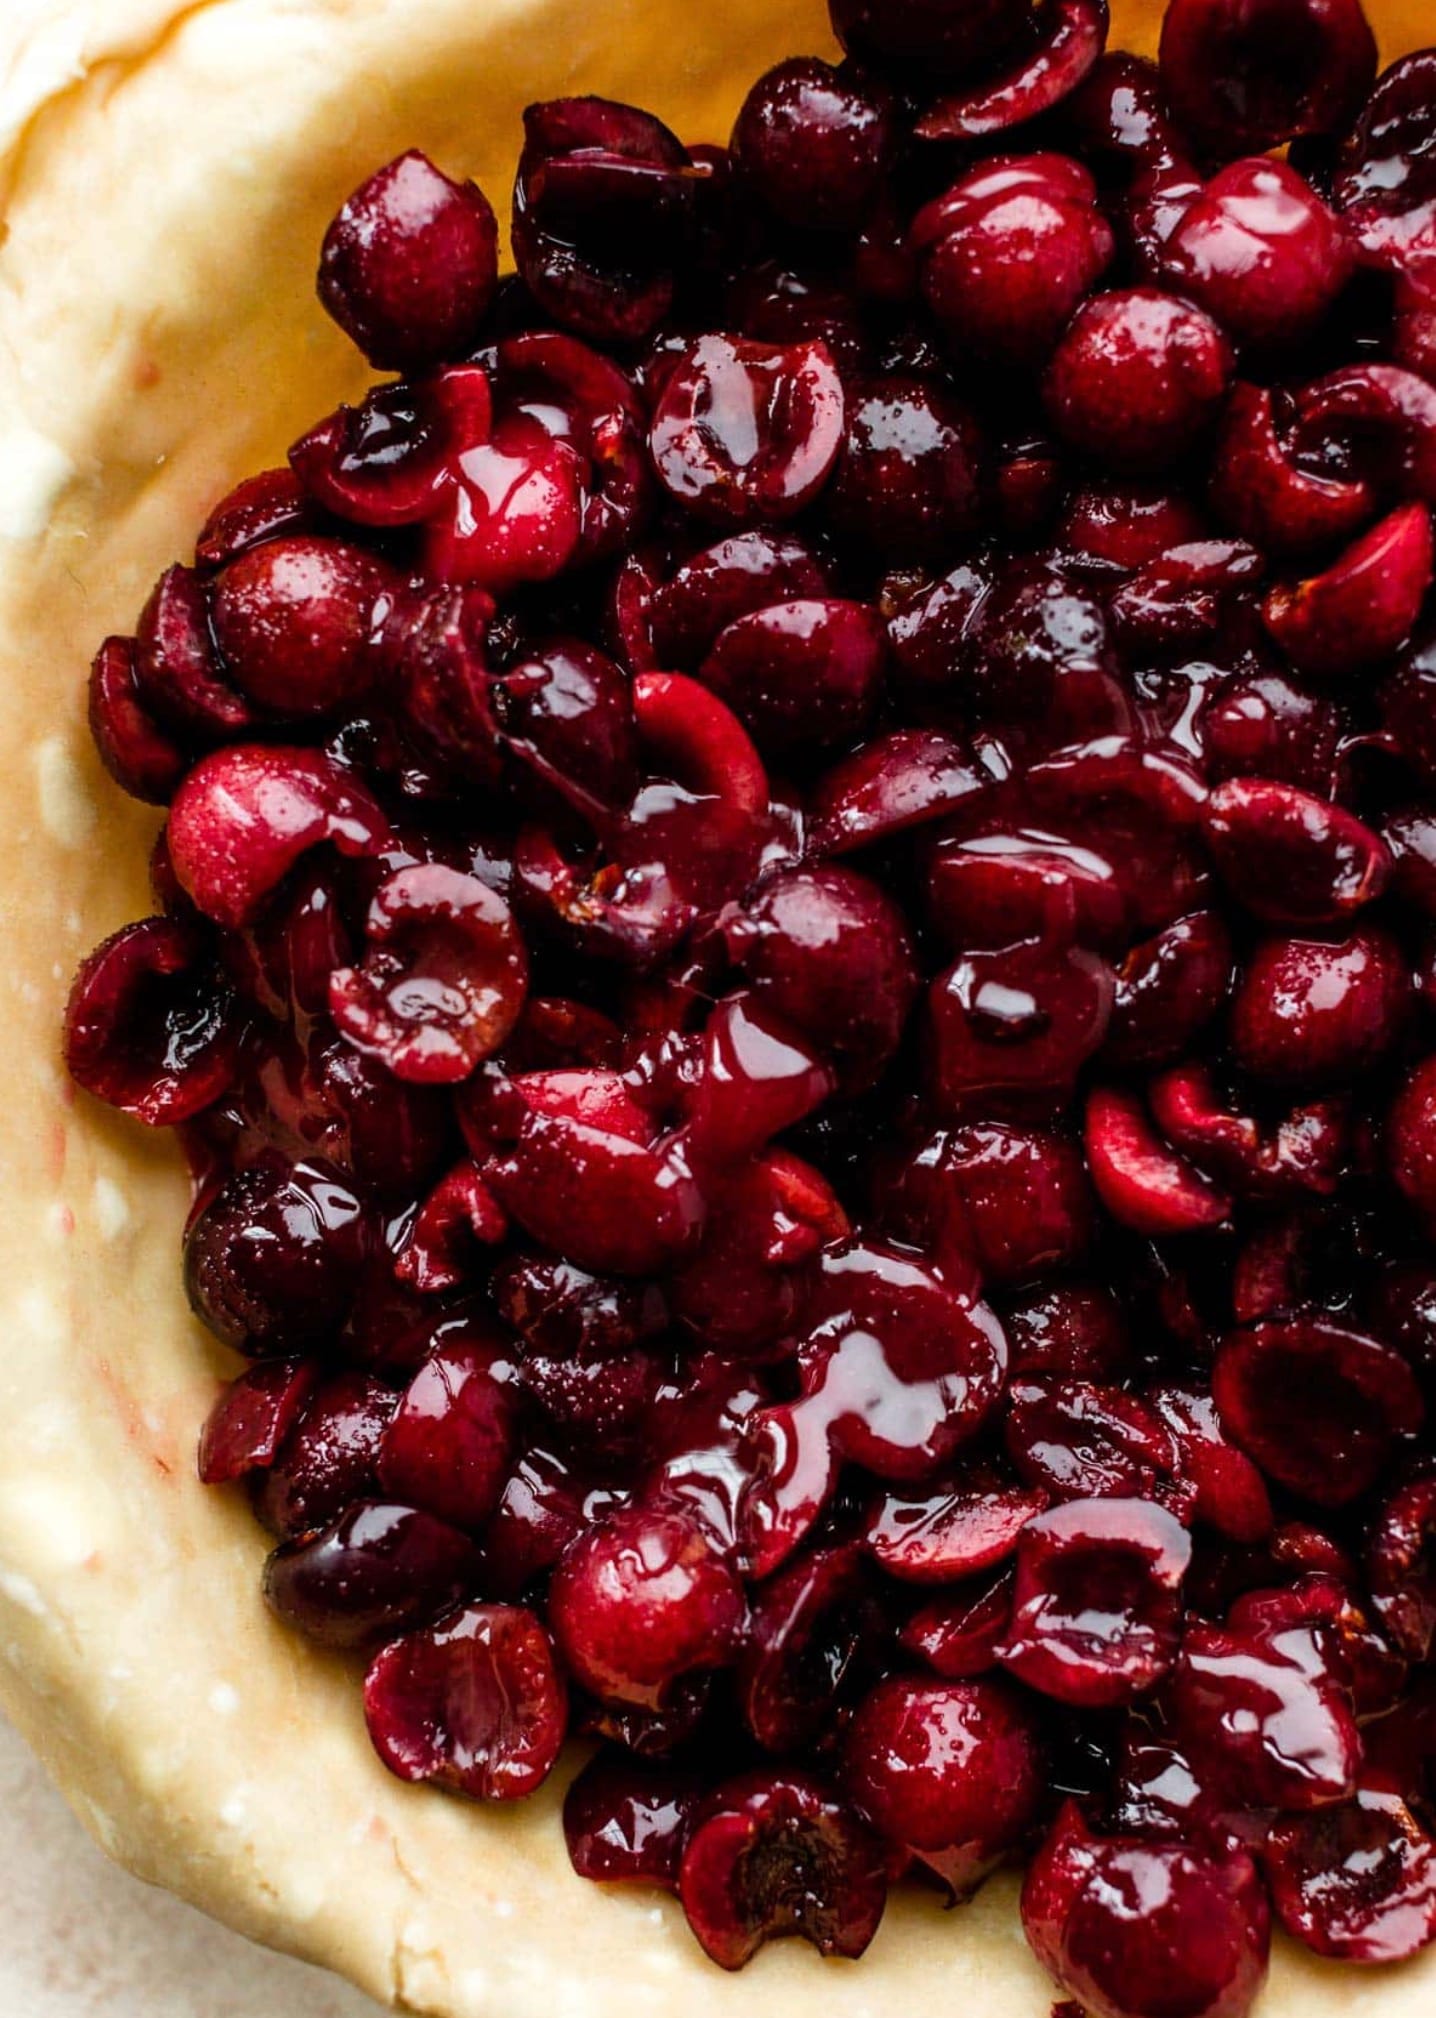
Roll out your pie dough on a floured surface. Make a 12-inch circle and place it in a 9-inch pie dish. Use a slotted spoon to add the cherries, saving the juice.
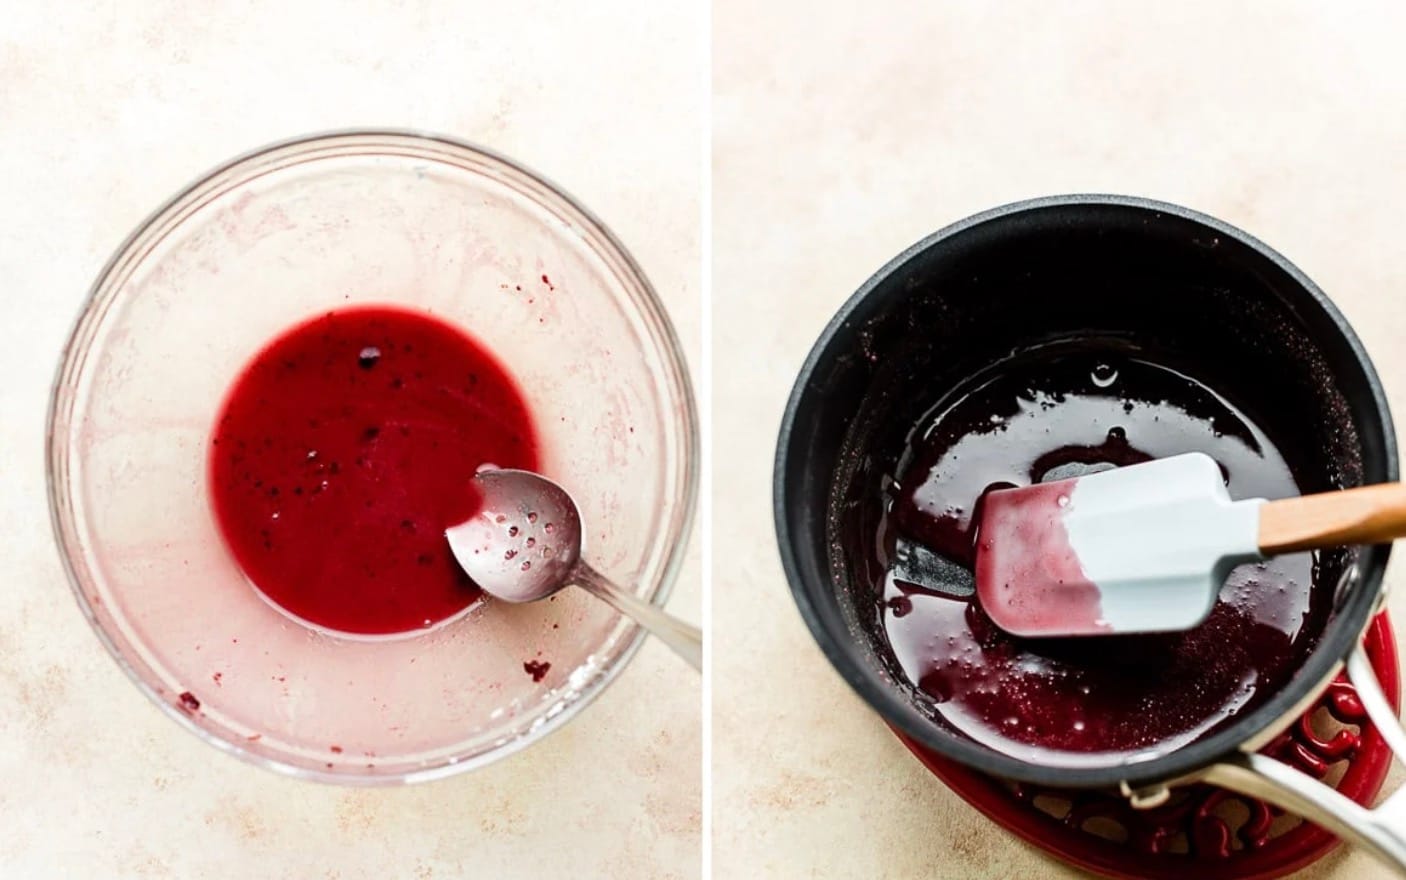
Cook the leftover juice in a small pan for 3-4 minutes until it thickens. Let it cool for 5 minutes, then pour over the cherries and mix gently. Add butter pieces on top.
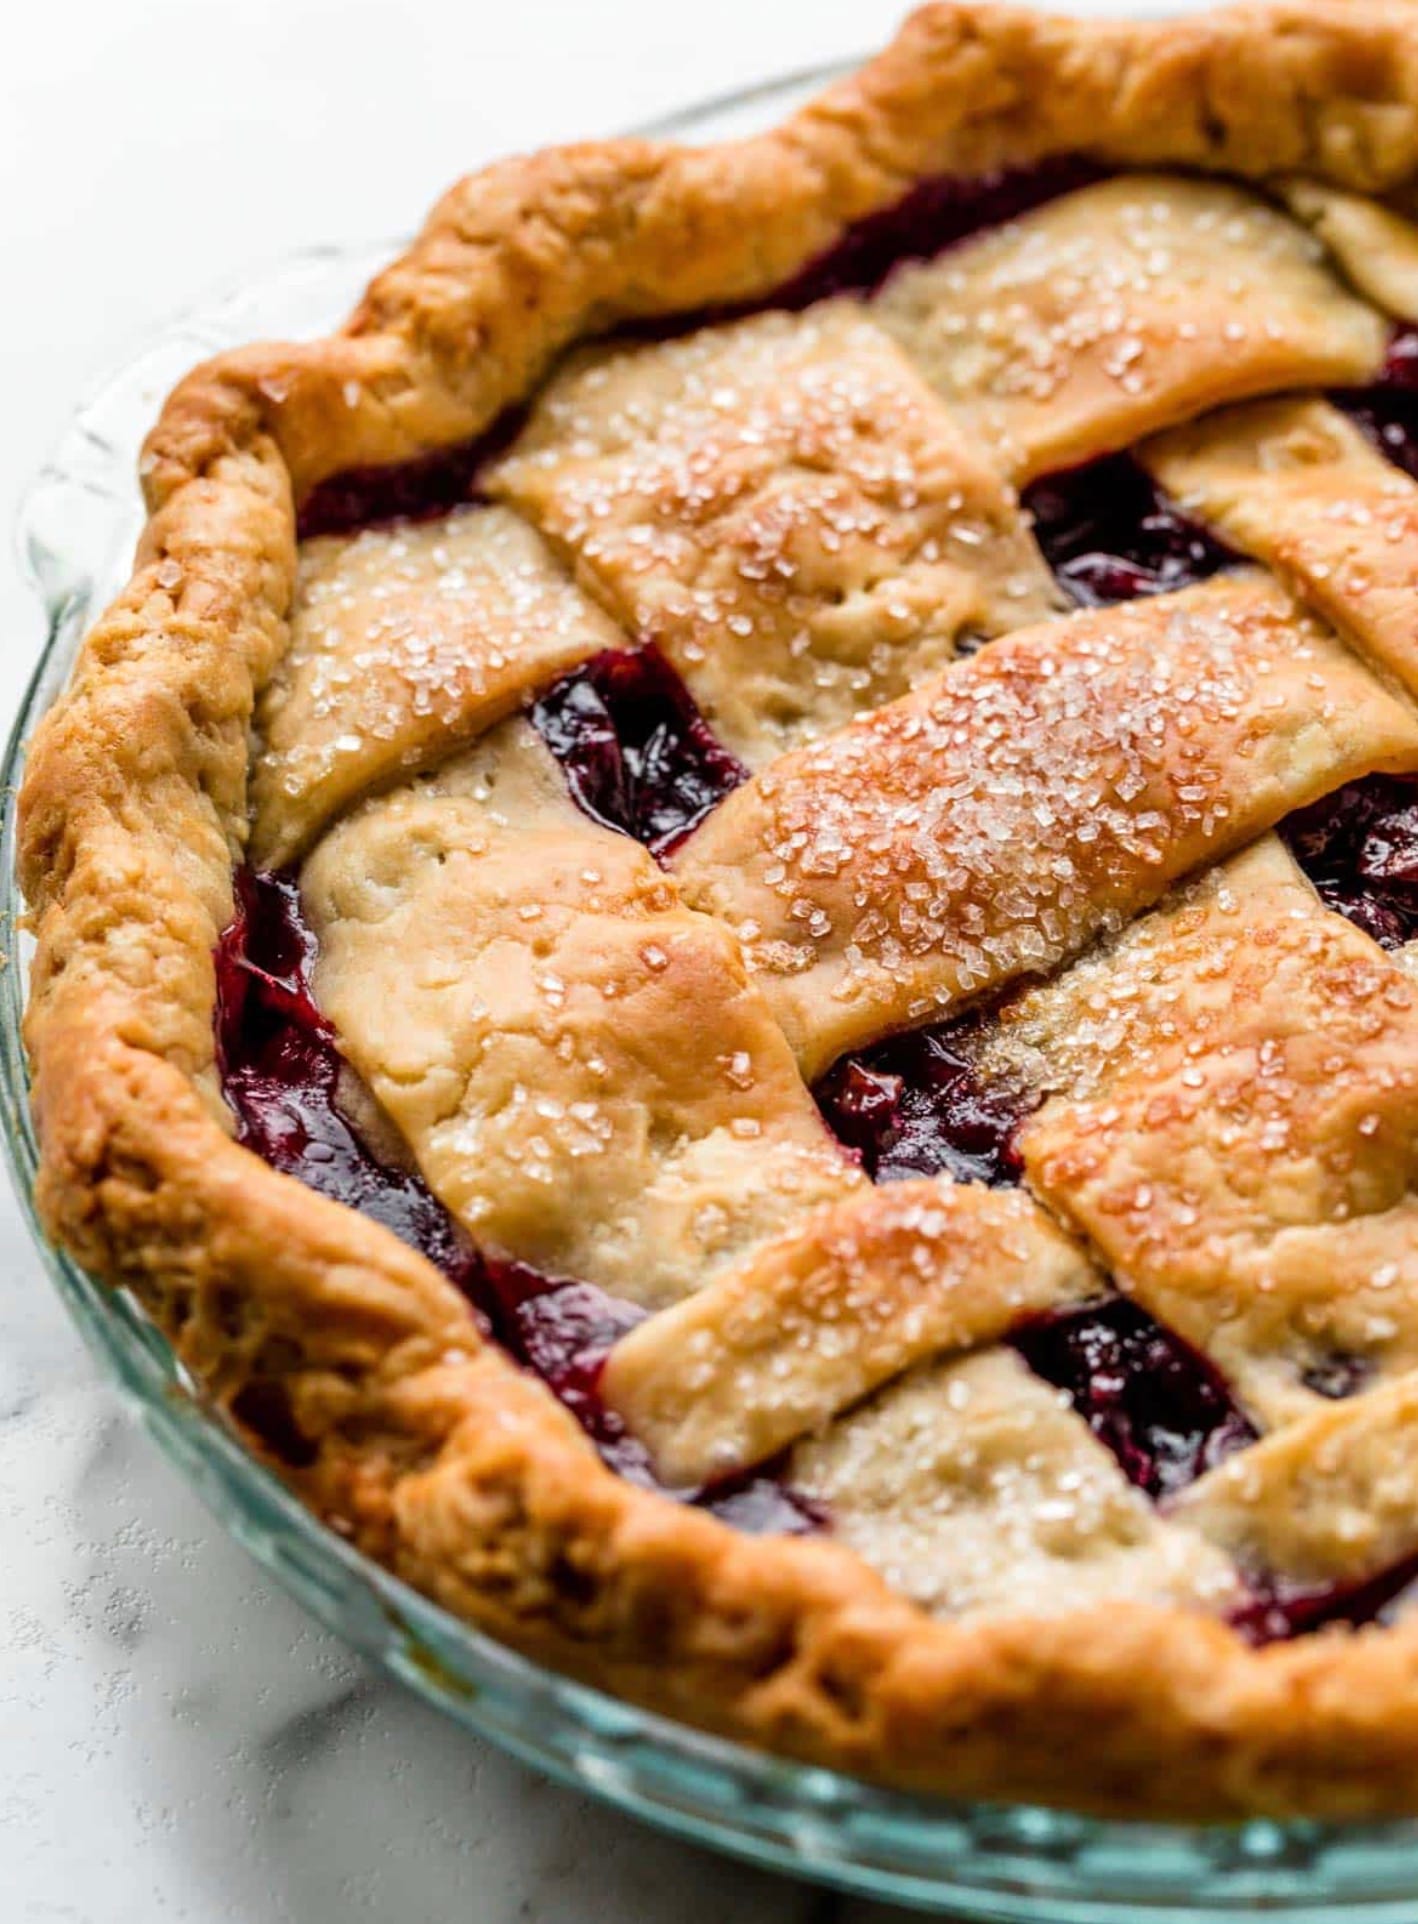
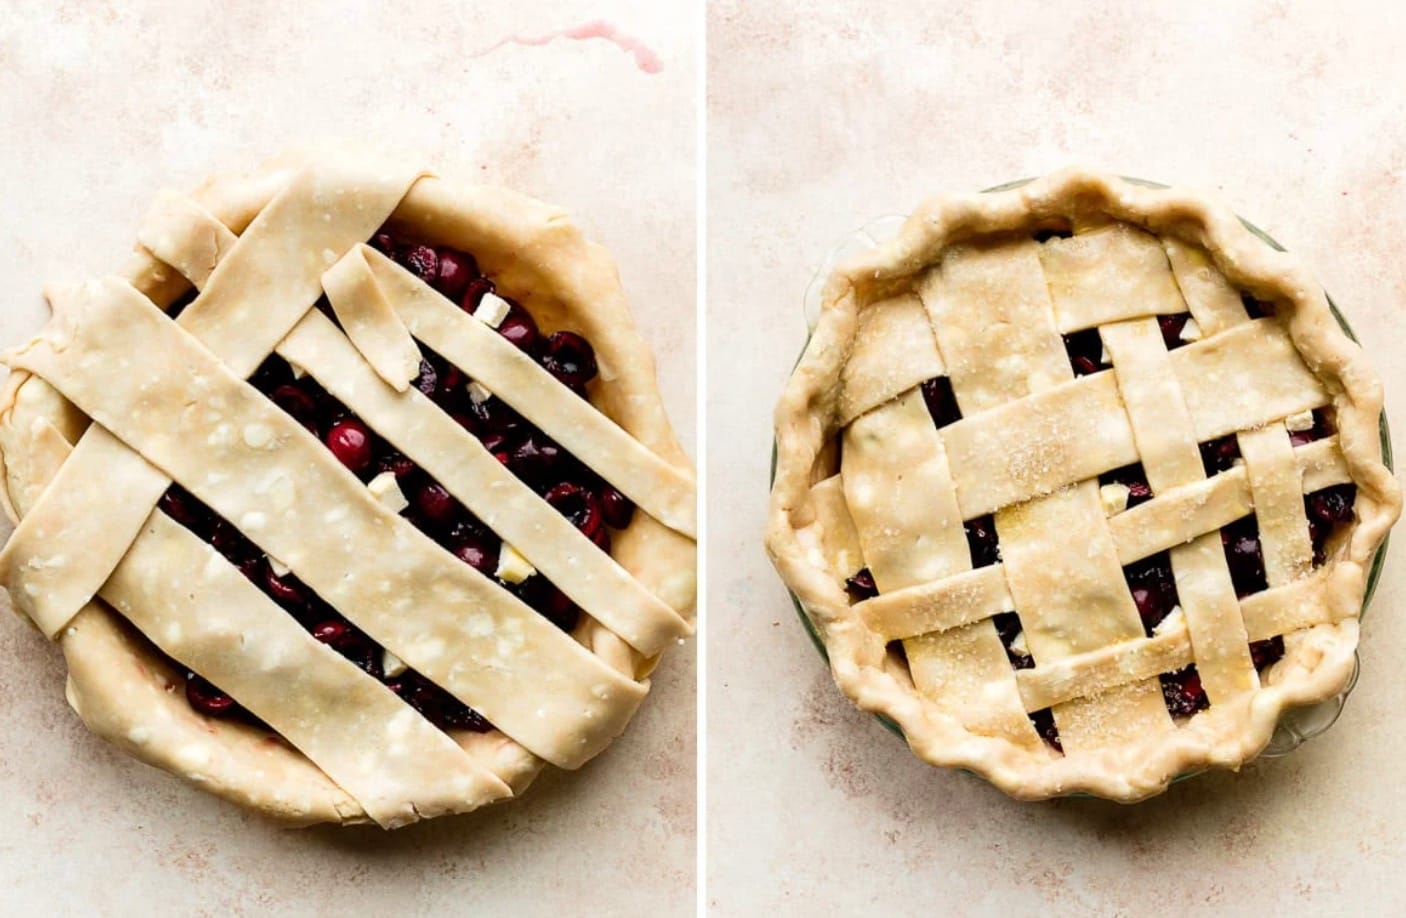
Make a lattice top with strips of dough. Brush with egg wash and sprinkle with sugar if you like.
Bake the pie on a baking sheet for 20 minutes. Lower the heat to 375°F (190°C) and bake for 30-40 more minutes. The crust should be golden and the filling bubbling.
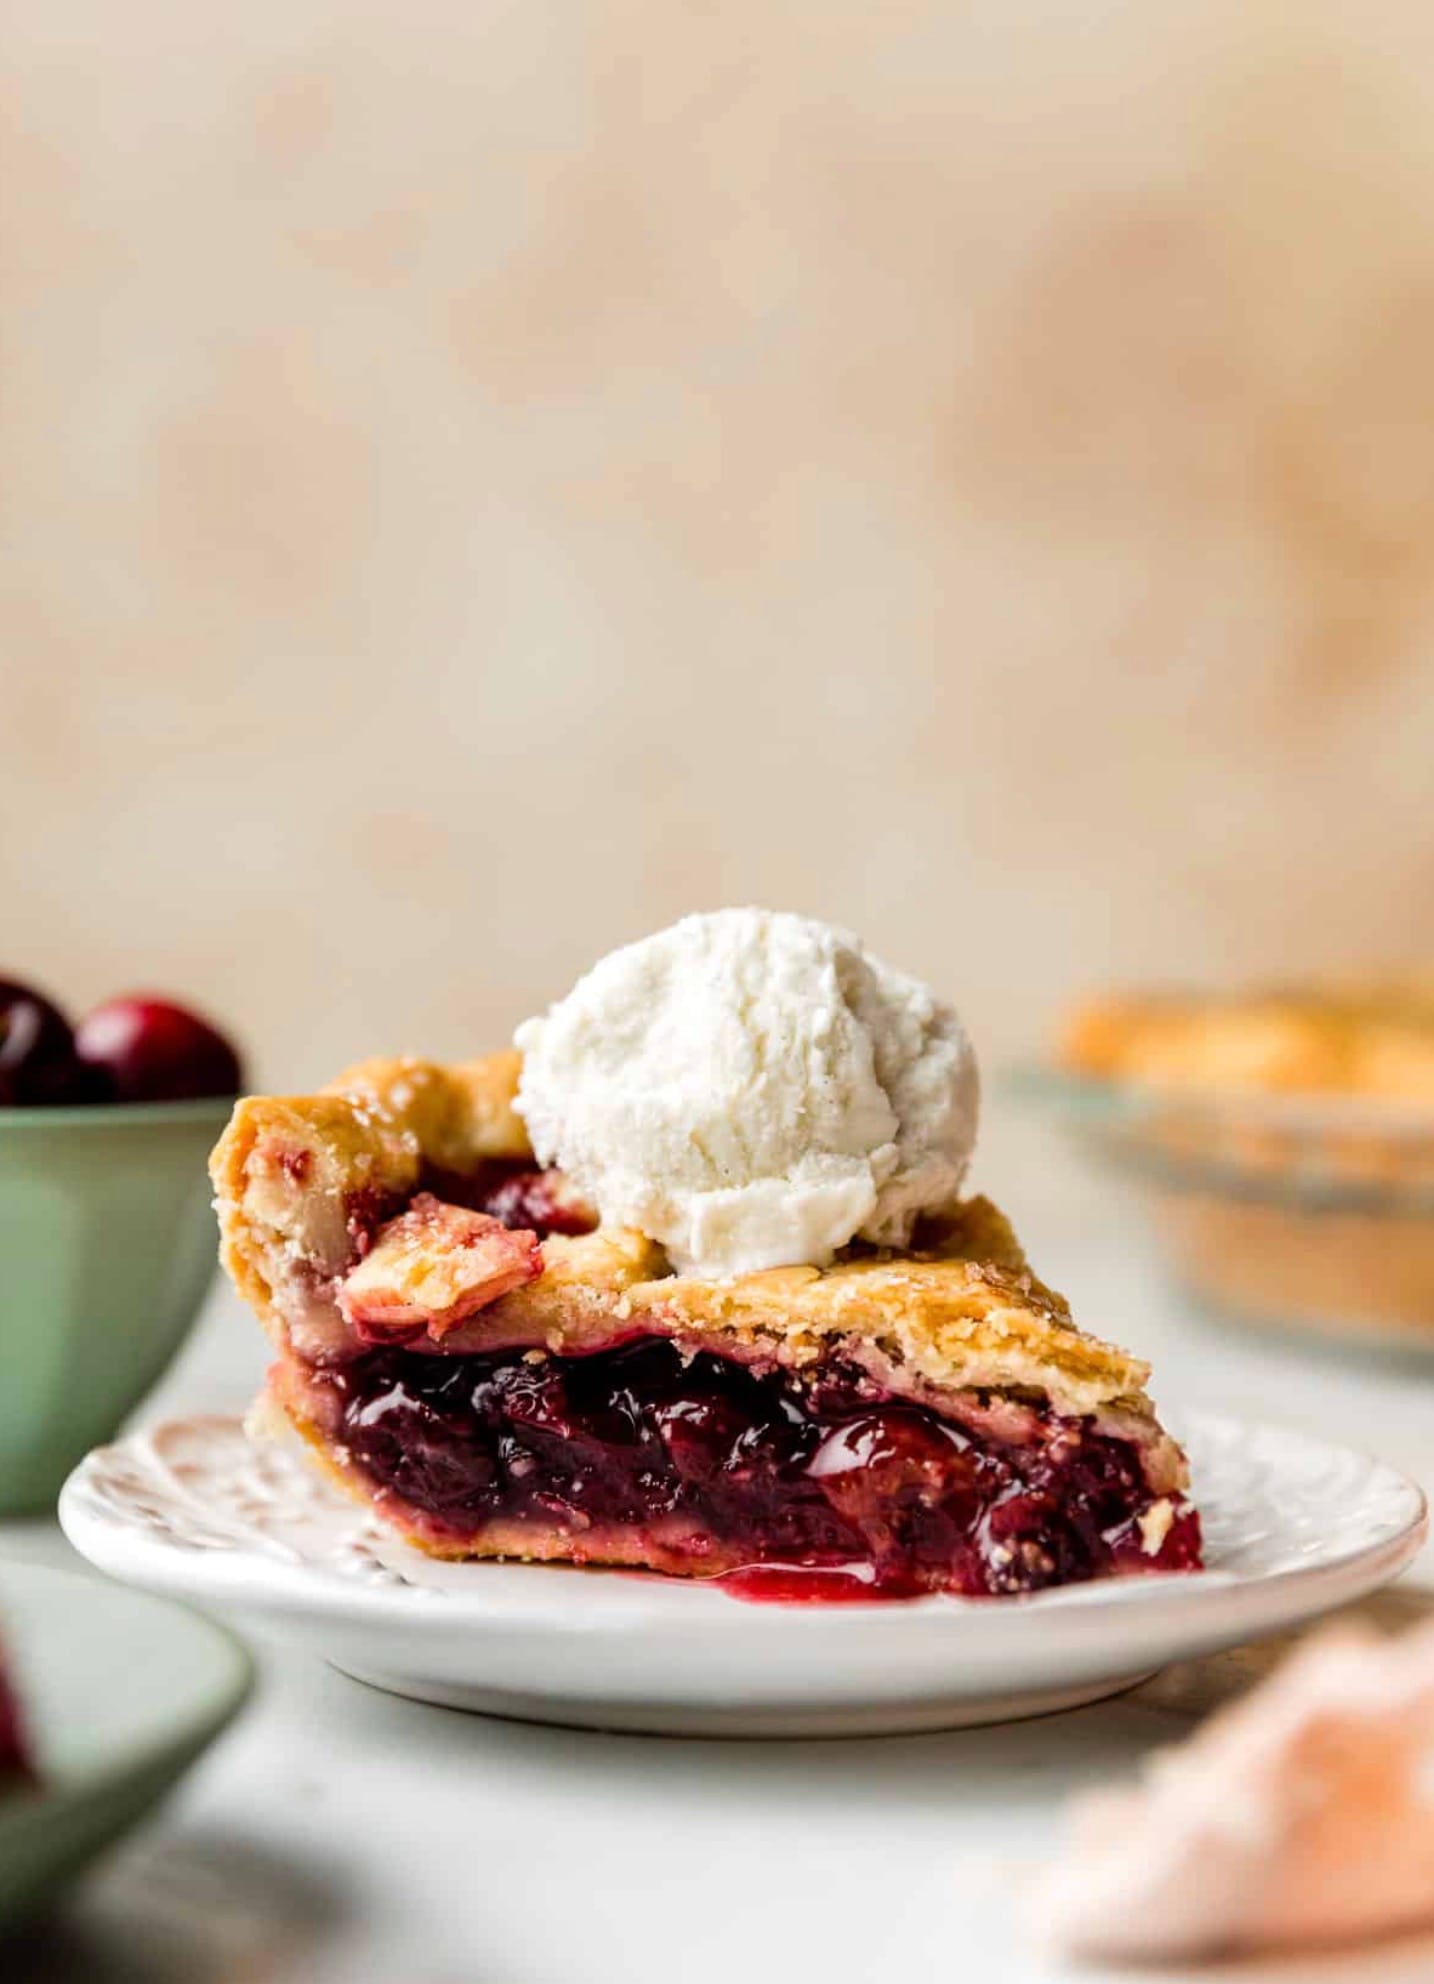
Let your pie cool for at least 3-4 hours before cutting. This helps the filling set. Enjoy your homemade cherry pie!

Possible Substitutes List
You can swap out a few ingredients in this cherry pie recipe if needed. Here are some options:
• Cherries: Use frozen cherries instead of fresh. Thaw and drain them first.
• Sugar: Try brown sugar or coconut sugar for a different flavor.
• Cornstarch: Swap in tapioca starch or arrowroot powder to thicken the filling.
• Lemon juice: Apple cider vinegar works as a tangy substitute.
• Vanilla extract: Use vanilla bean paste or scrape a vanilla pod.
• Almond extract: Try orange or lemon zest for a citrusy twist.
• Butter: Use coconut oil for a dairy-free option.
For the crust, you can use a store-bought pie dough to save time. Or make a graham cracker crust for a different texture.
Don’t have fresh cherries? Canned cherries work too. Drain them well and reduce the sugar in the recipe.
Remember, substitutes may change the taste and texture a bit. But they’ll still give you a yummy cherry pie to enjoy!
How To Make It Diabetes-Friendly
You can make this cherry pie recipe more diabetes-friendly with a few easy swaps. Use a sugar substitute like stevia or erythritol instead of granulated sugar. These natural sweeteners won’t spike your blood sugar.
Try using whole wheat flour for the crust to add fiber. This helps slow down sugar absorption. You can also use almond flour for a low-carb option.
Cut back on the cherries. Use 3 cups instead of 4 1/2. This reduces the natural sugars. Add extra spices like cinnamon to boost flavor without calories.
Skip the egg wash and sugar topping. These add unnecessary carbs. Instead, brush the crust with a bit of milk for browning.
Serve smaller slices. Use a 9-inch pie pan and cut it into 10-12 pieces instead of 8. This helps with portion control.
Remember to check with your doctor about fitting occasional treats into your meal plan. Moderation is key!
Tips, Tricks & Storing
For the best cherry pie, choose ripe, fresh cherries. If you can’t find fresh ones, frozen cherries work too. Just thaw and drain them first.
To save time, make your pie crust ahead. You can store it in the fridge for up to 5 days or freeze it for 3 months.
Don’t skip chilling the dough! Cold dough is key for a flaky crust.
Here’s a quick trick for pitting cherries:
- Place a cherry on top of an empty bottle
- Push a chopstick through the cherry
- The pit will fall into the bottle
To prevent a soggy bottom crust, brush it with beaten egg white before adding the filling.
For a golden, shiny top crust, brush with egg wash before baking. Sprinkle with coarse sugar for extra crunch.
Let your pie cool completely before slicing. This helps the filling set and makes for cleaner slices.
Store your baked cherry pie at room temp for 2 days or in the fridge for up to 5 days. Cover it loosely with foil to keep it fresh.