Crusted Chicken Romano (Cheesecake Factory Copycat)
I’ve included some videos I found relevant and helpful. 😍
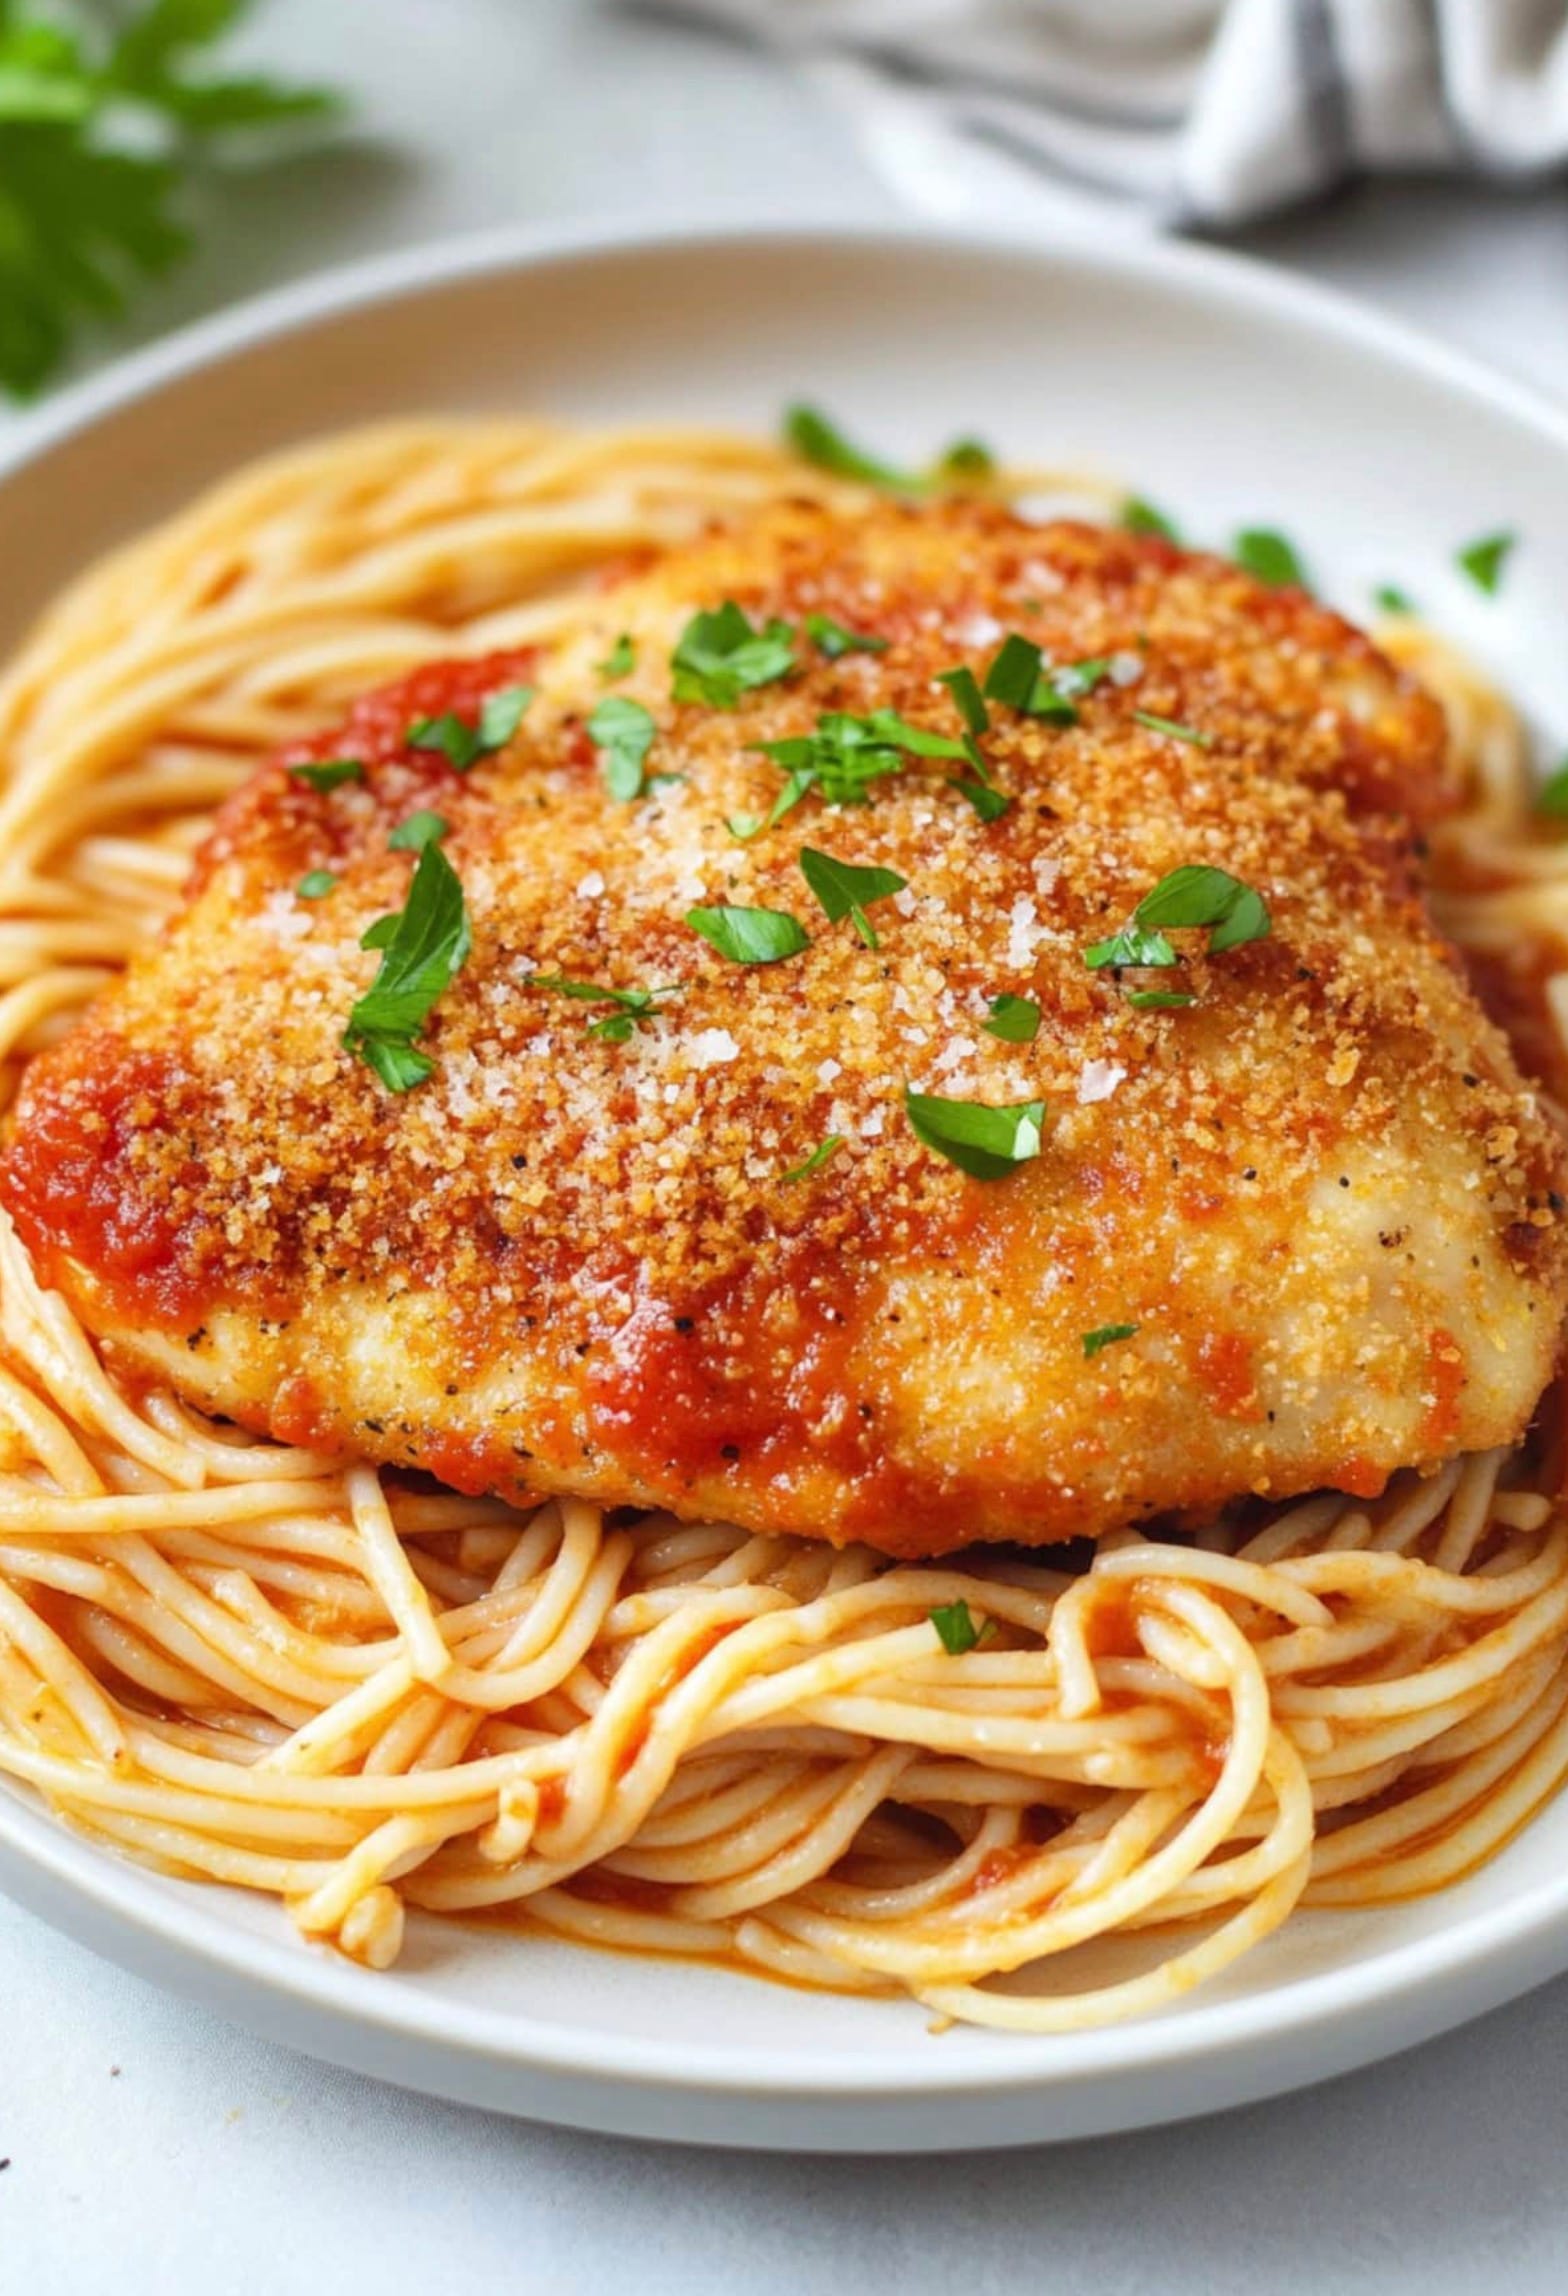
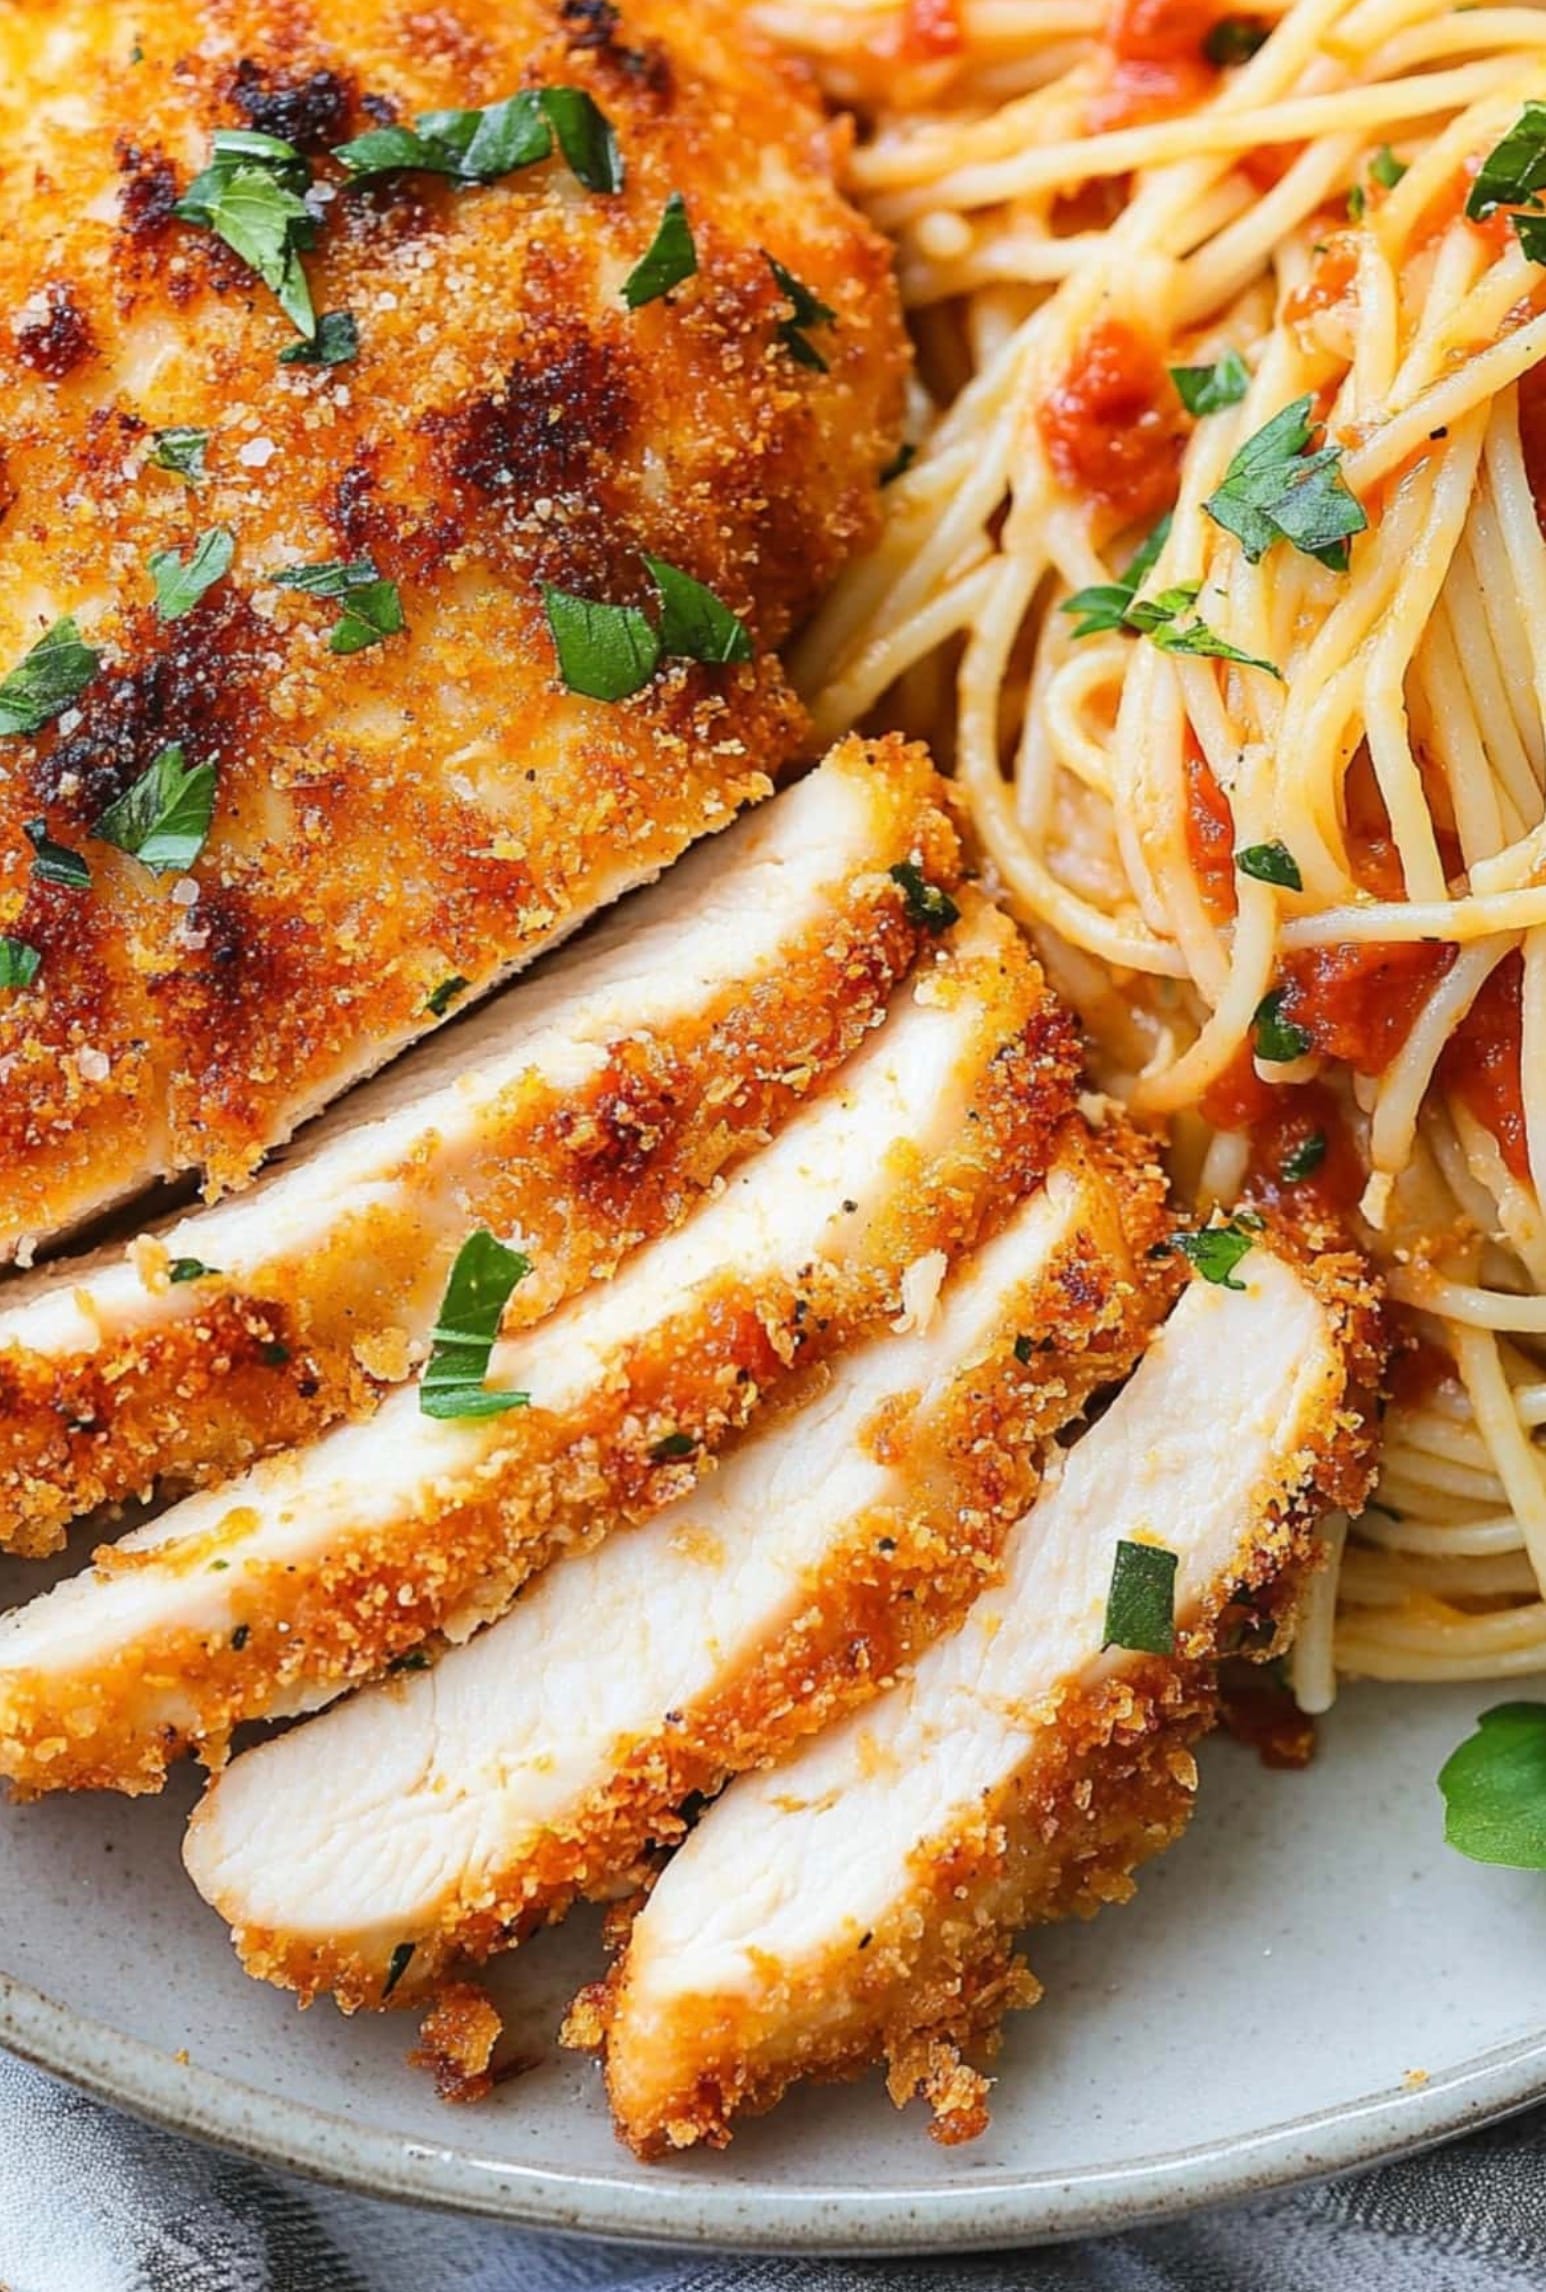
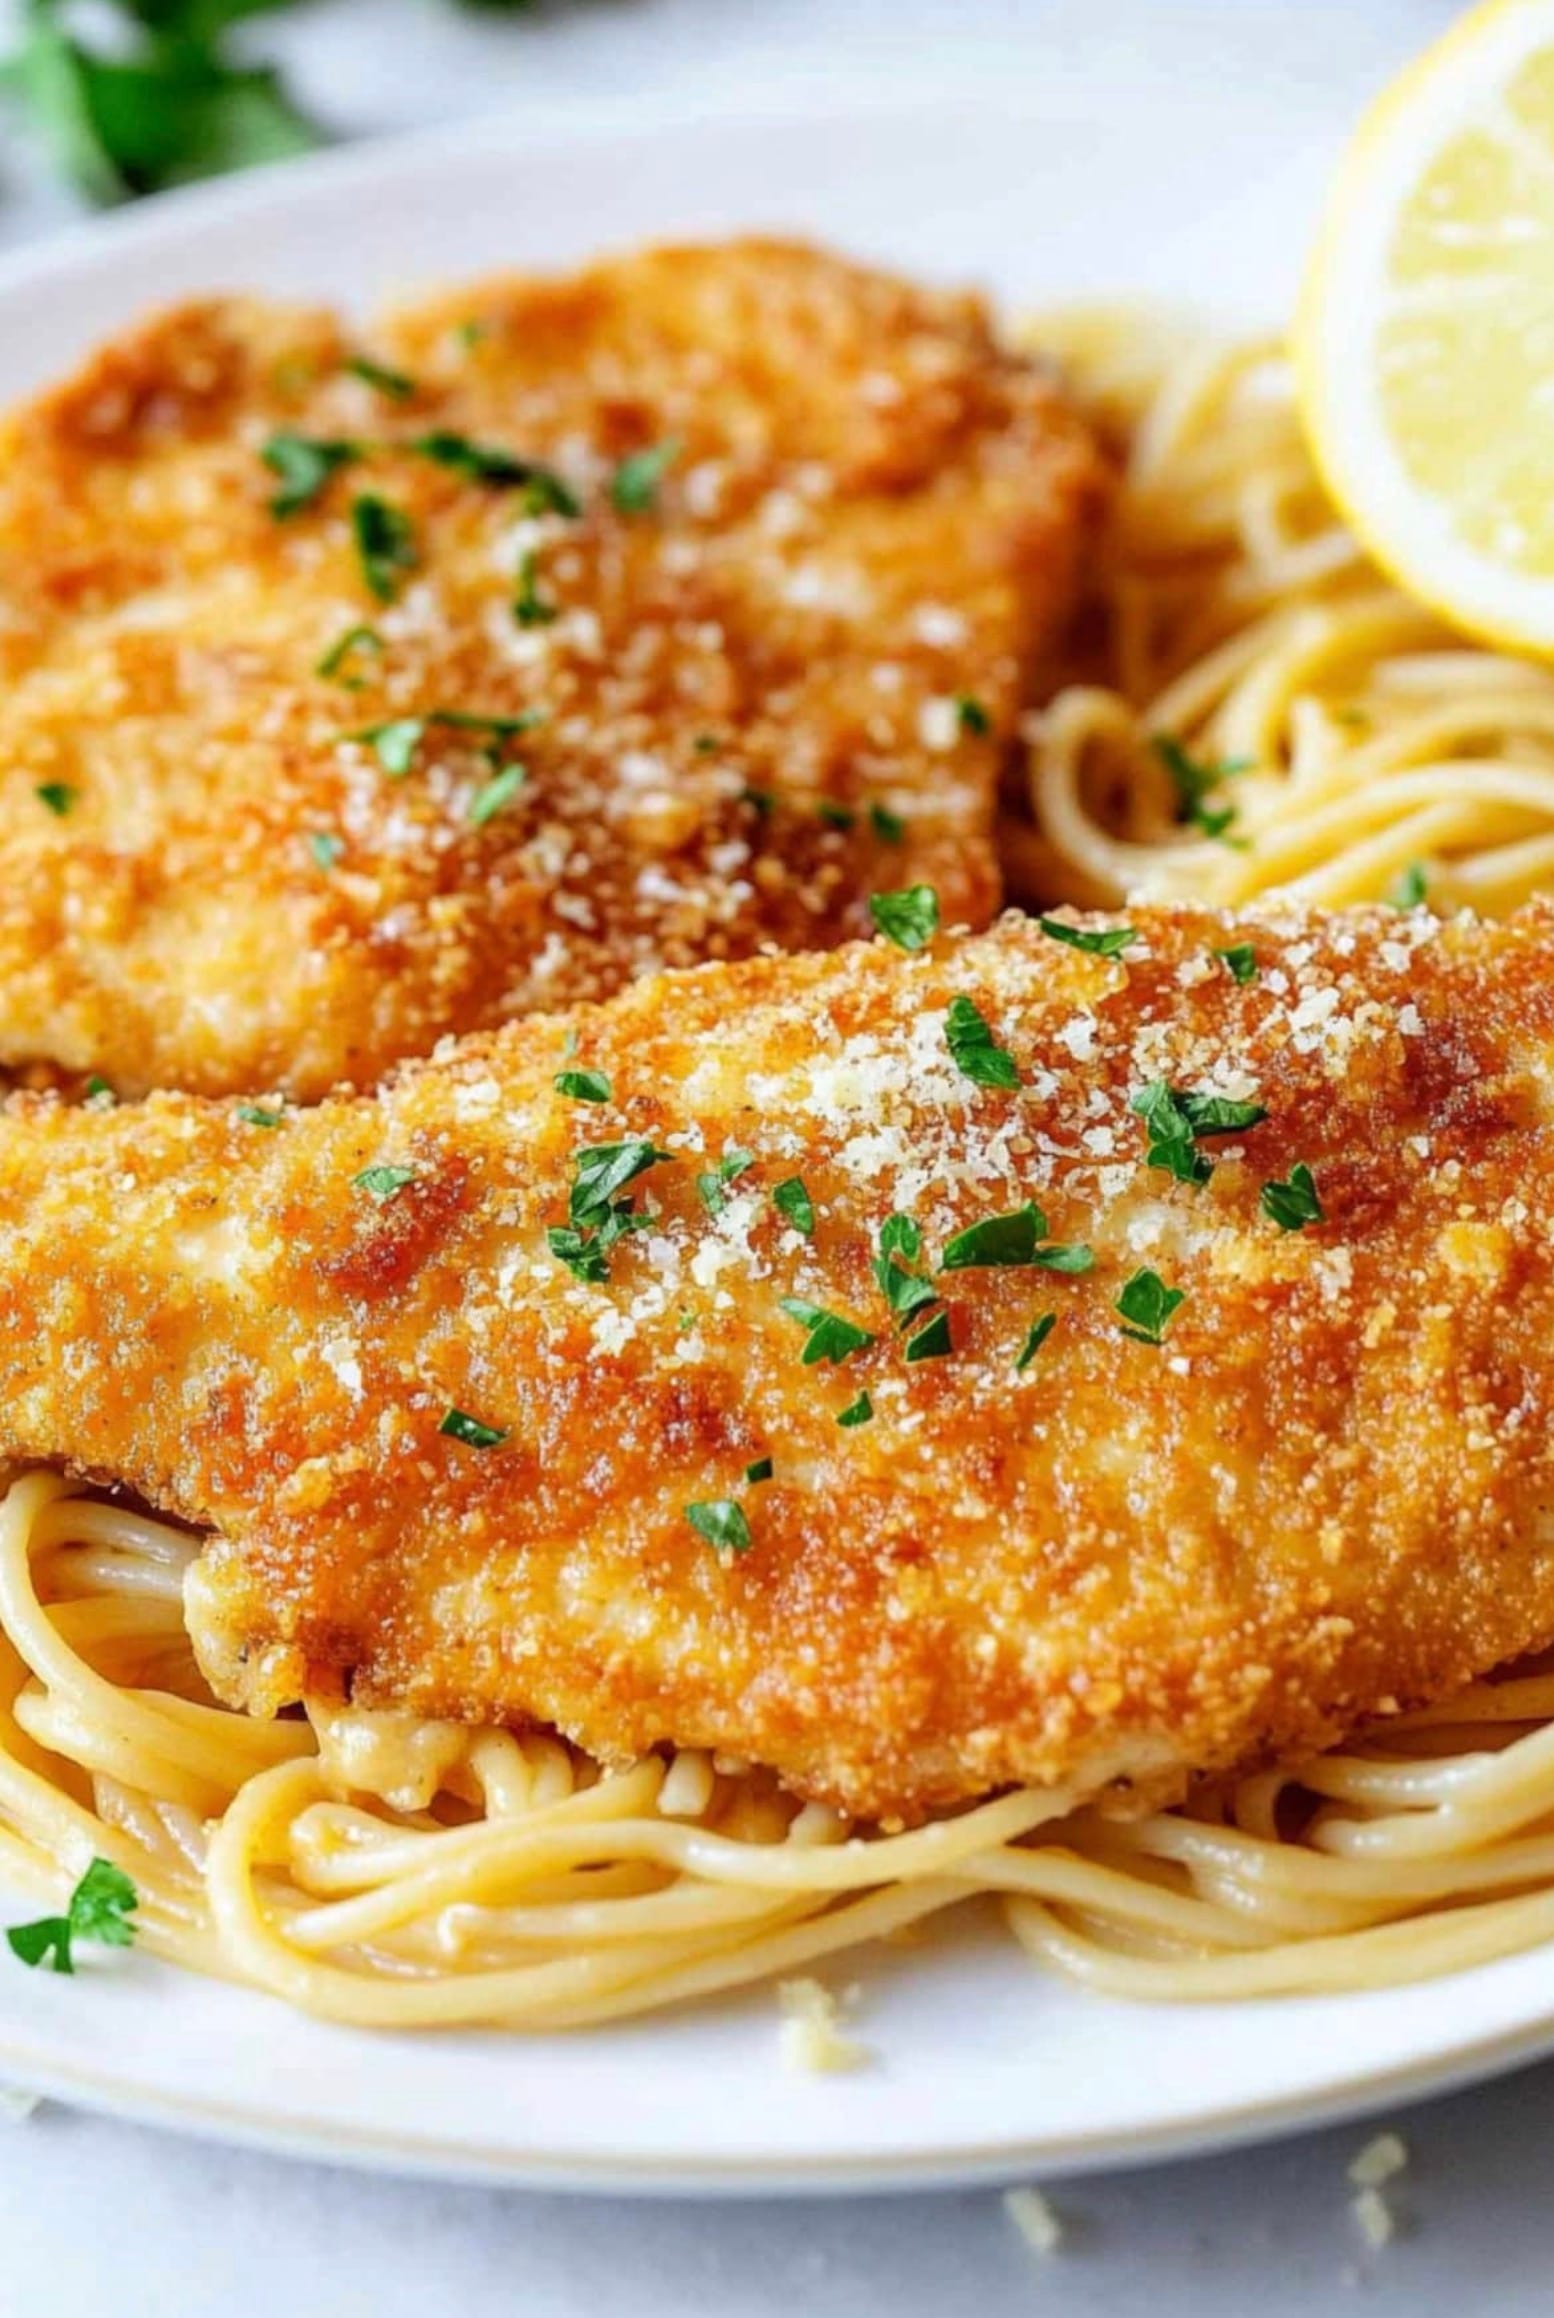
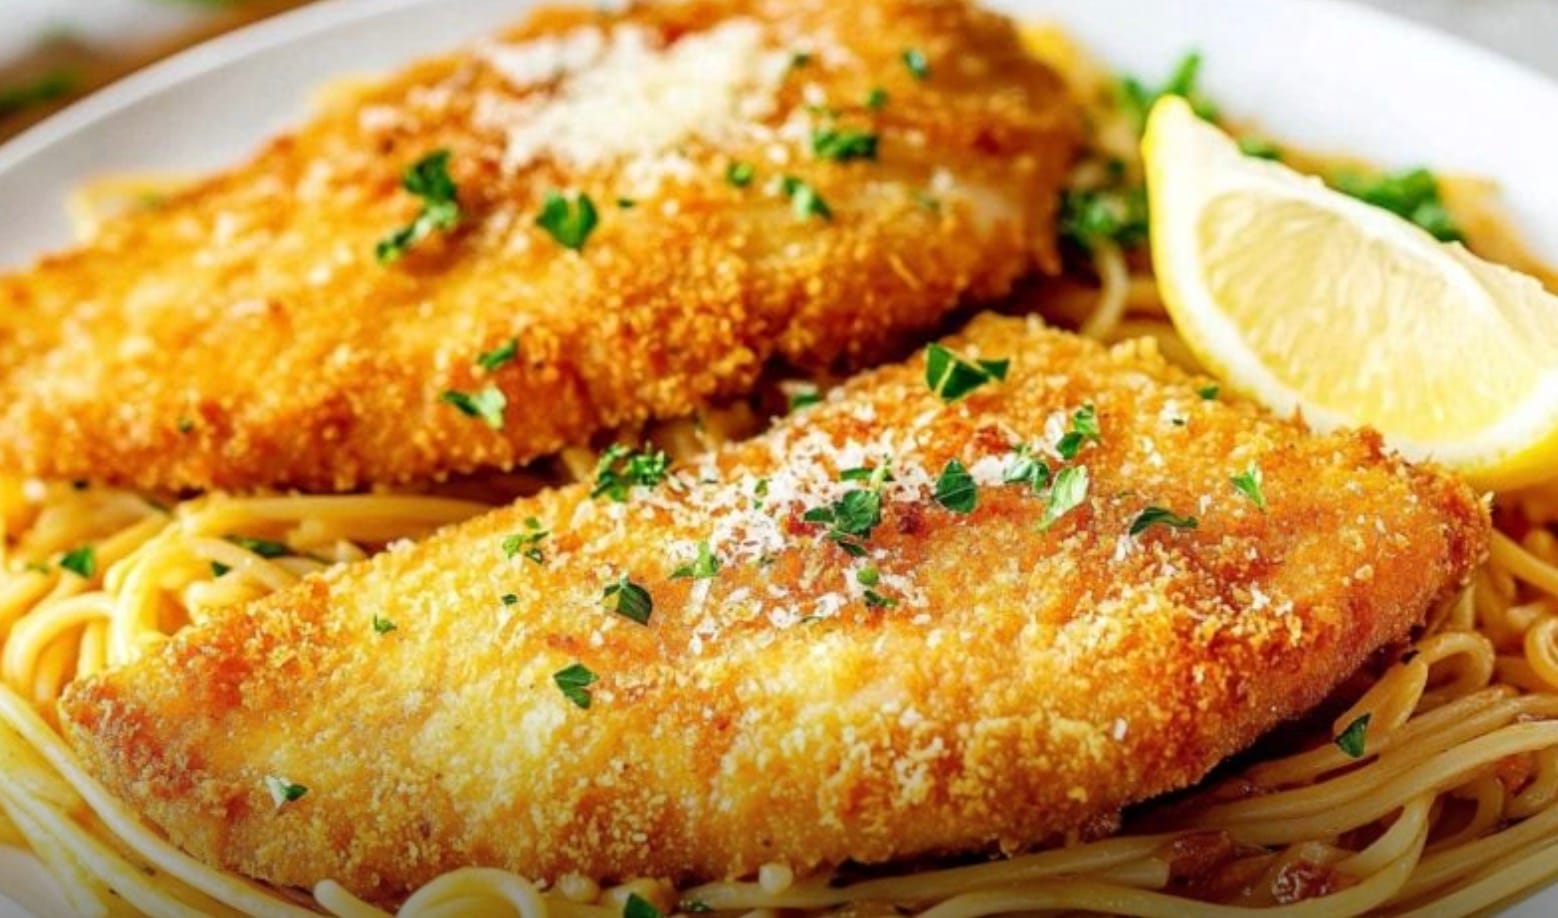
Craving the tasty Crusted Chicken Romano from Cheesecake Factory? You can now make it at home! This copycat recipe lets you enjoy the same crunchy, cheesy goodness without leaving your kitchen. With just a few simple steps, you’ll create golden-brown chicken cutlets coated in a crispy Romano cheese crust.
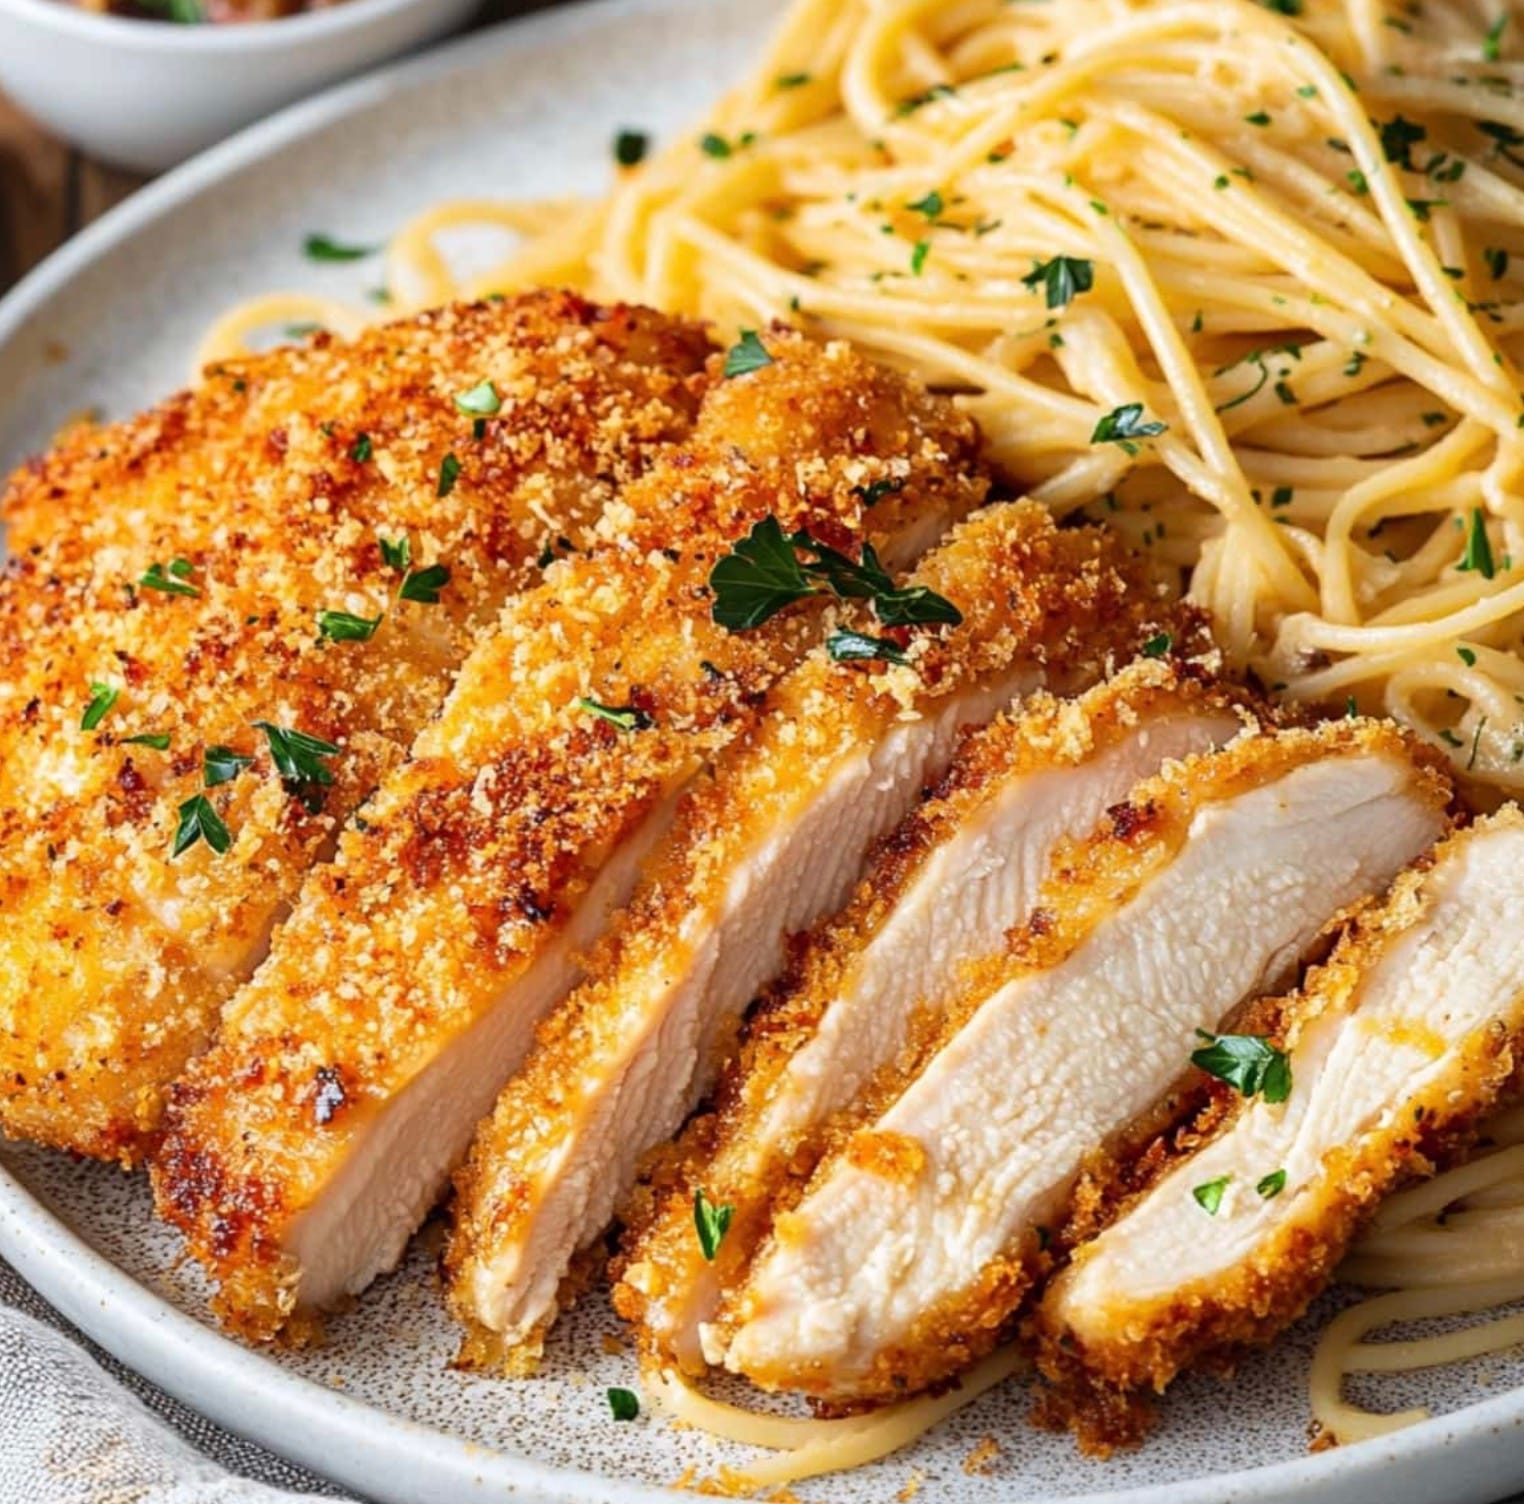
The secret is in the breading process. You’ll dip the chicken in seasoned flour, then egg wash, and finally a mix of panko and Romano cheese. This triple coating ensures a super crispy exterior that locks in the juices. When fried to perfection, each bite is a delightful mix of tender chicken and savory crunch.
Exact Ingredients List
Here’s everything you’ll need to make this tasty Crusted Chicken Romano:
- 3 chicken breasts, halved lengthwise
- Salt and black pepper, to taste
- 1/2 cup all-purpose flour
- 1 teaspoon Italian seasoning
- 2 large eggs
- 2 tablespoons water
- 1 1/2 cups panko bread crumbs
- 2 cups grated Romano cheese (1 1/2 cups for breading, 1/2 cup for serving)
- Vegetable oil for frying
You’ll also want to have a meat mallet, plastic wrap, and three shallow dishes for the breading process.
This recipe serves 6 people and takes about 30 minutes to prep and 25 minutes to cook. Each serving has around 433 calories.
Remember, you can adjust the seasonings to your taste. Feel free to add more Italian seasoning or even some garlic powder if you like!
Instructions
Cut each chicken breast in half lengthwise. You’ll have 6 thin cutlets. Put them between plastic wrap and pound them to 1/4 inch thick. Season with salt and pepper.
Set up 3 shallow dishes. Mix flour and Italian seasoning in the first. Whisk eggs and water in the second. Combine panko and Romano cheese in the third.
Coat each cutlet in flour, then egg, then the panko mix. Press the crumbs on gently. Let them rest for 5 minutes.
Pour oil in a large skillet, about 1/4 to 1/2 inch deep. Heat it over medium-high. Add cutlets carefully, don’t crowd them. Cook 4-5 minutes per side until golden brown.
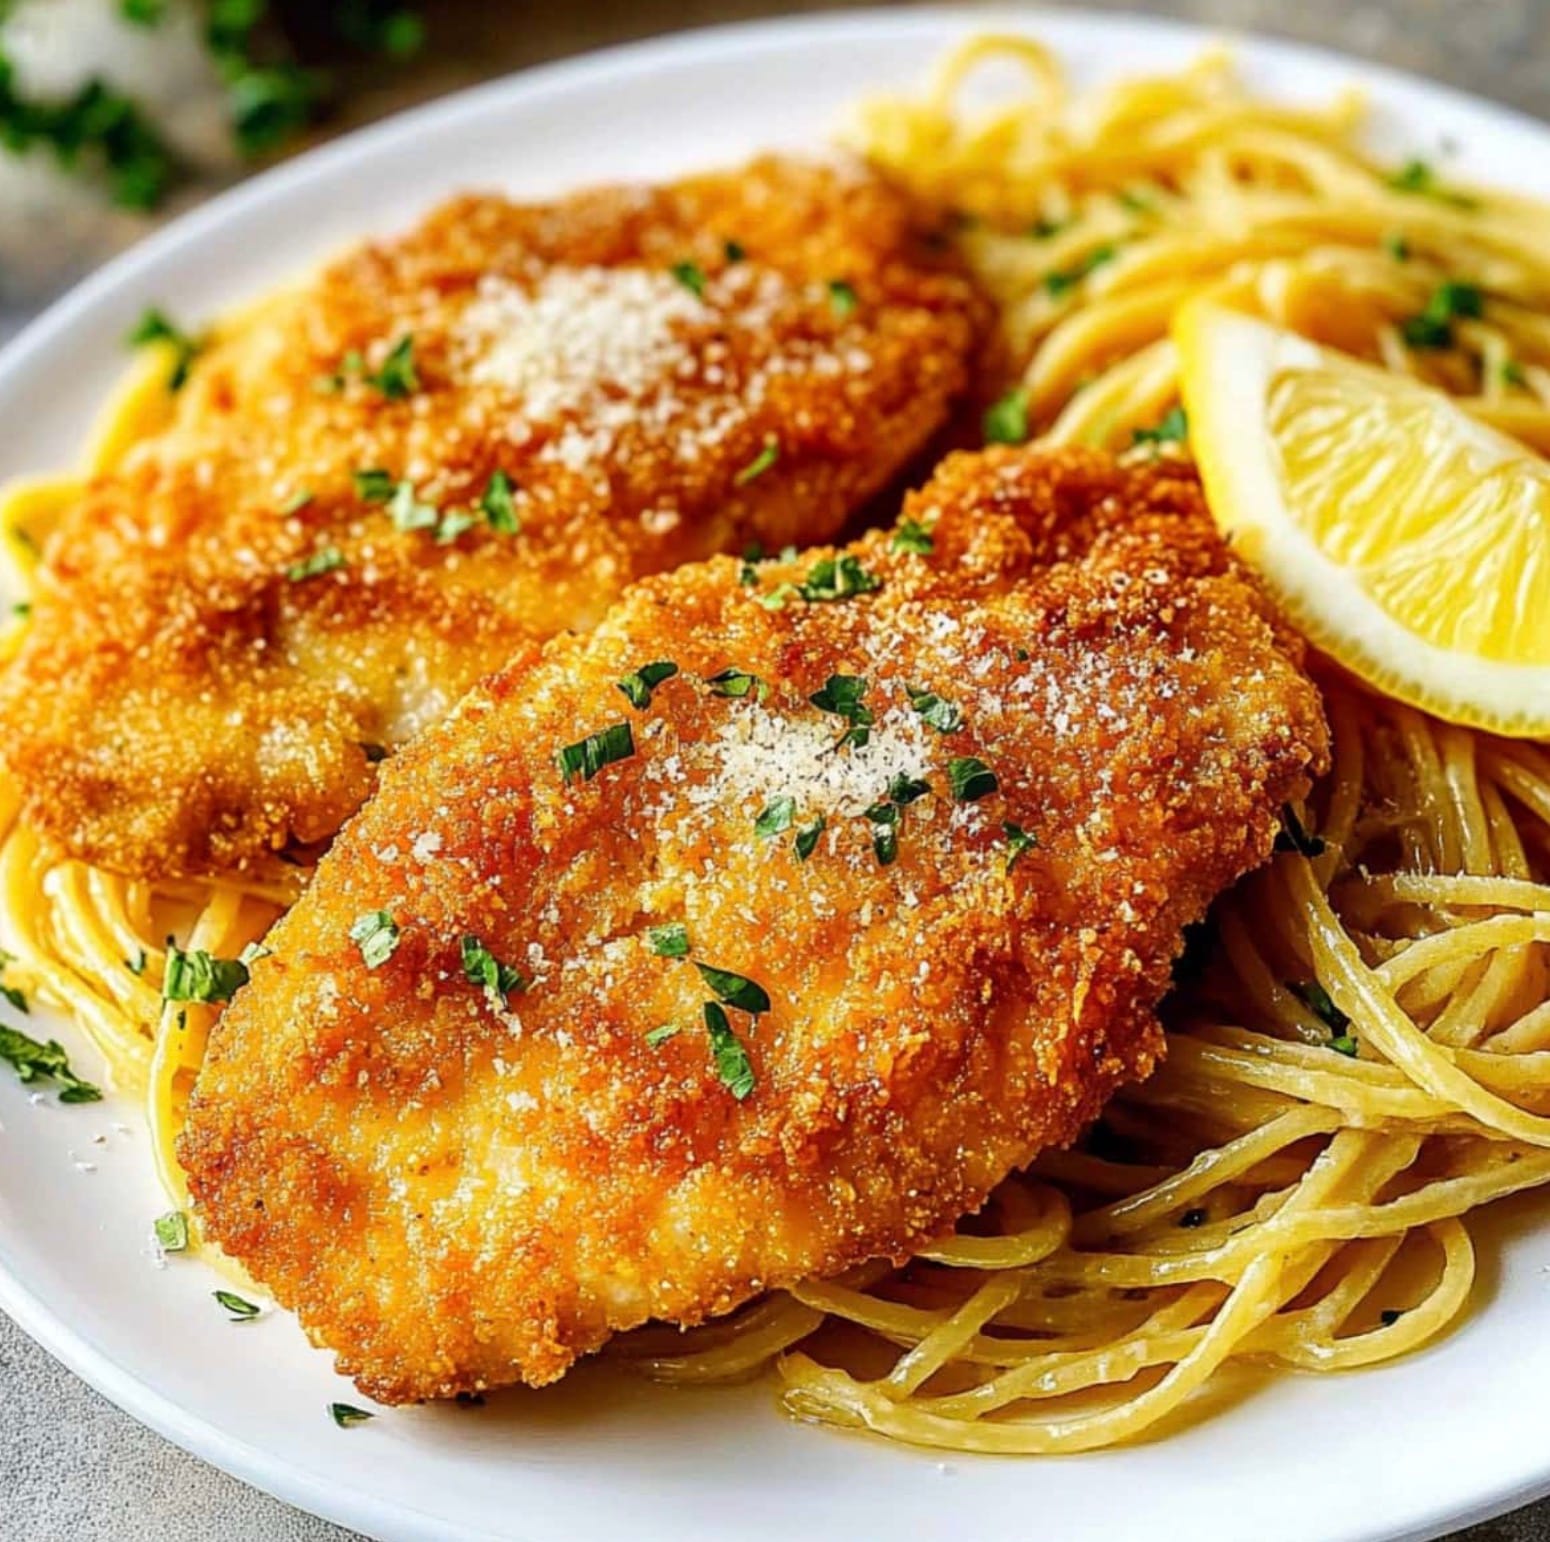
Move cooked chicken to a plate and cover with foil to keep warm. Serve with pasta and your favorite sauce. Sprinkle extra Romano cheese on top and add a squeeze of lemon.
You can reheat leftovers in a 350°F oven for 10-15 minutes. For extra crispy results, use an air fryer at 350°F for 3-5 minutes.
Possible Substitutes List
You can make some swaps in this recipe if needed. Try these options:
Chicken: Use boneless skinless chicken thighs instead of breasts. They’re juicy and flavorful.
Breadcrumbs: Regular breadcrumbs work if you don’t have panko. The coating won’t be as crunchy.
Cheese: Parmesan is a good stand-in for Romano. It has a similar sharp taste.
Flour: For a gluten-free version, use almond flour or cornstarch.
Eggs: Mix 2 tablespoons ground flaxseed with 6 tablespoons water for an egg-free option.
Oil: Any neutral oil like canola or avocado works for frying.
Seasoning: Use dried basil and oregano if you don’t have Italian seasoning.
You can also bake the chicken instead of frying. Place breaded cutlets on a wire rack over a baking sheet. Bake at 425°F for 15-20 minutes, flipping halfway through.
How To Make It Diabetes-Friendly
You can enjoy this tasty chicken dish even if you have diabetes. Here are some easy tweaks to make it more blood sugar-friendly:
Use almond flour instead of all-purpose flour. This swap cuts down on carbs while adding healthy fats and fiber.
Replace panko breadcrumbs with crushed pork rinds. They give a nice crunch without the extra carbs.
Try air frying instead of pan frying. This method uses less oil and reduces fat content. Set your air fryer to 375°F and cook for 10-12 minutes, flipping halfway through.
Serve your chicken with non-starchy veggies like broccoli or green beans instead of pasta. This lowers the meal’s overall carb count.
Go easy on the cheese. Use just 1 cup of Romano instead of 1 1/2 cups to cut back on saturated fat.
These simple changes can make a big difference in how the meal affects your blood sugar. You’ll still get to enjoy the flavors you love, just in a more diabetes-friendly way.
Tips, Tricks & Storing
For extra crispy chicken, let the breaded cutlets rest in the fridge for 30 minutes before frying. This helps the coating stick better.
Use a meat thermometer to check doneness. The chicken is ready when it reaches 165°F (74°C) in the thickest part.
To keep your chicken warm while cooking in batches, place cooked pieces on a wire rack in a 200°F (93°C) oven.
You can prep the chicken ahead of time. Bread the cutlets and store them in the fridge for up to 24 hours before cooking.
Got leftovers? Store them in an airtight container in the fridge for up to 3 days. Reheat in a 350°F (175°C) oven for 10-15 minutes to keep them crispy.
For a healthier version, try air frying! Set your air fryer to 375°F (190°C) and cook for 12-15 minutes, flipping halfway through.
Serve your Chicken Romano with a side of lemon wedges. A squeeze of fresh lemon juice adds a bright, zesty flavor that complements the rich cheese coating.