Buttermilk Fried Chicken Tenders
I’ve included some videos I found relevant and helpful. 😍
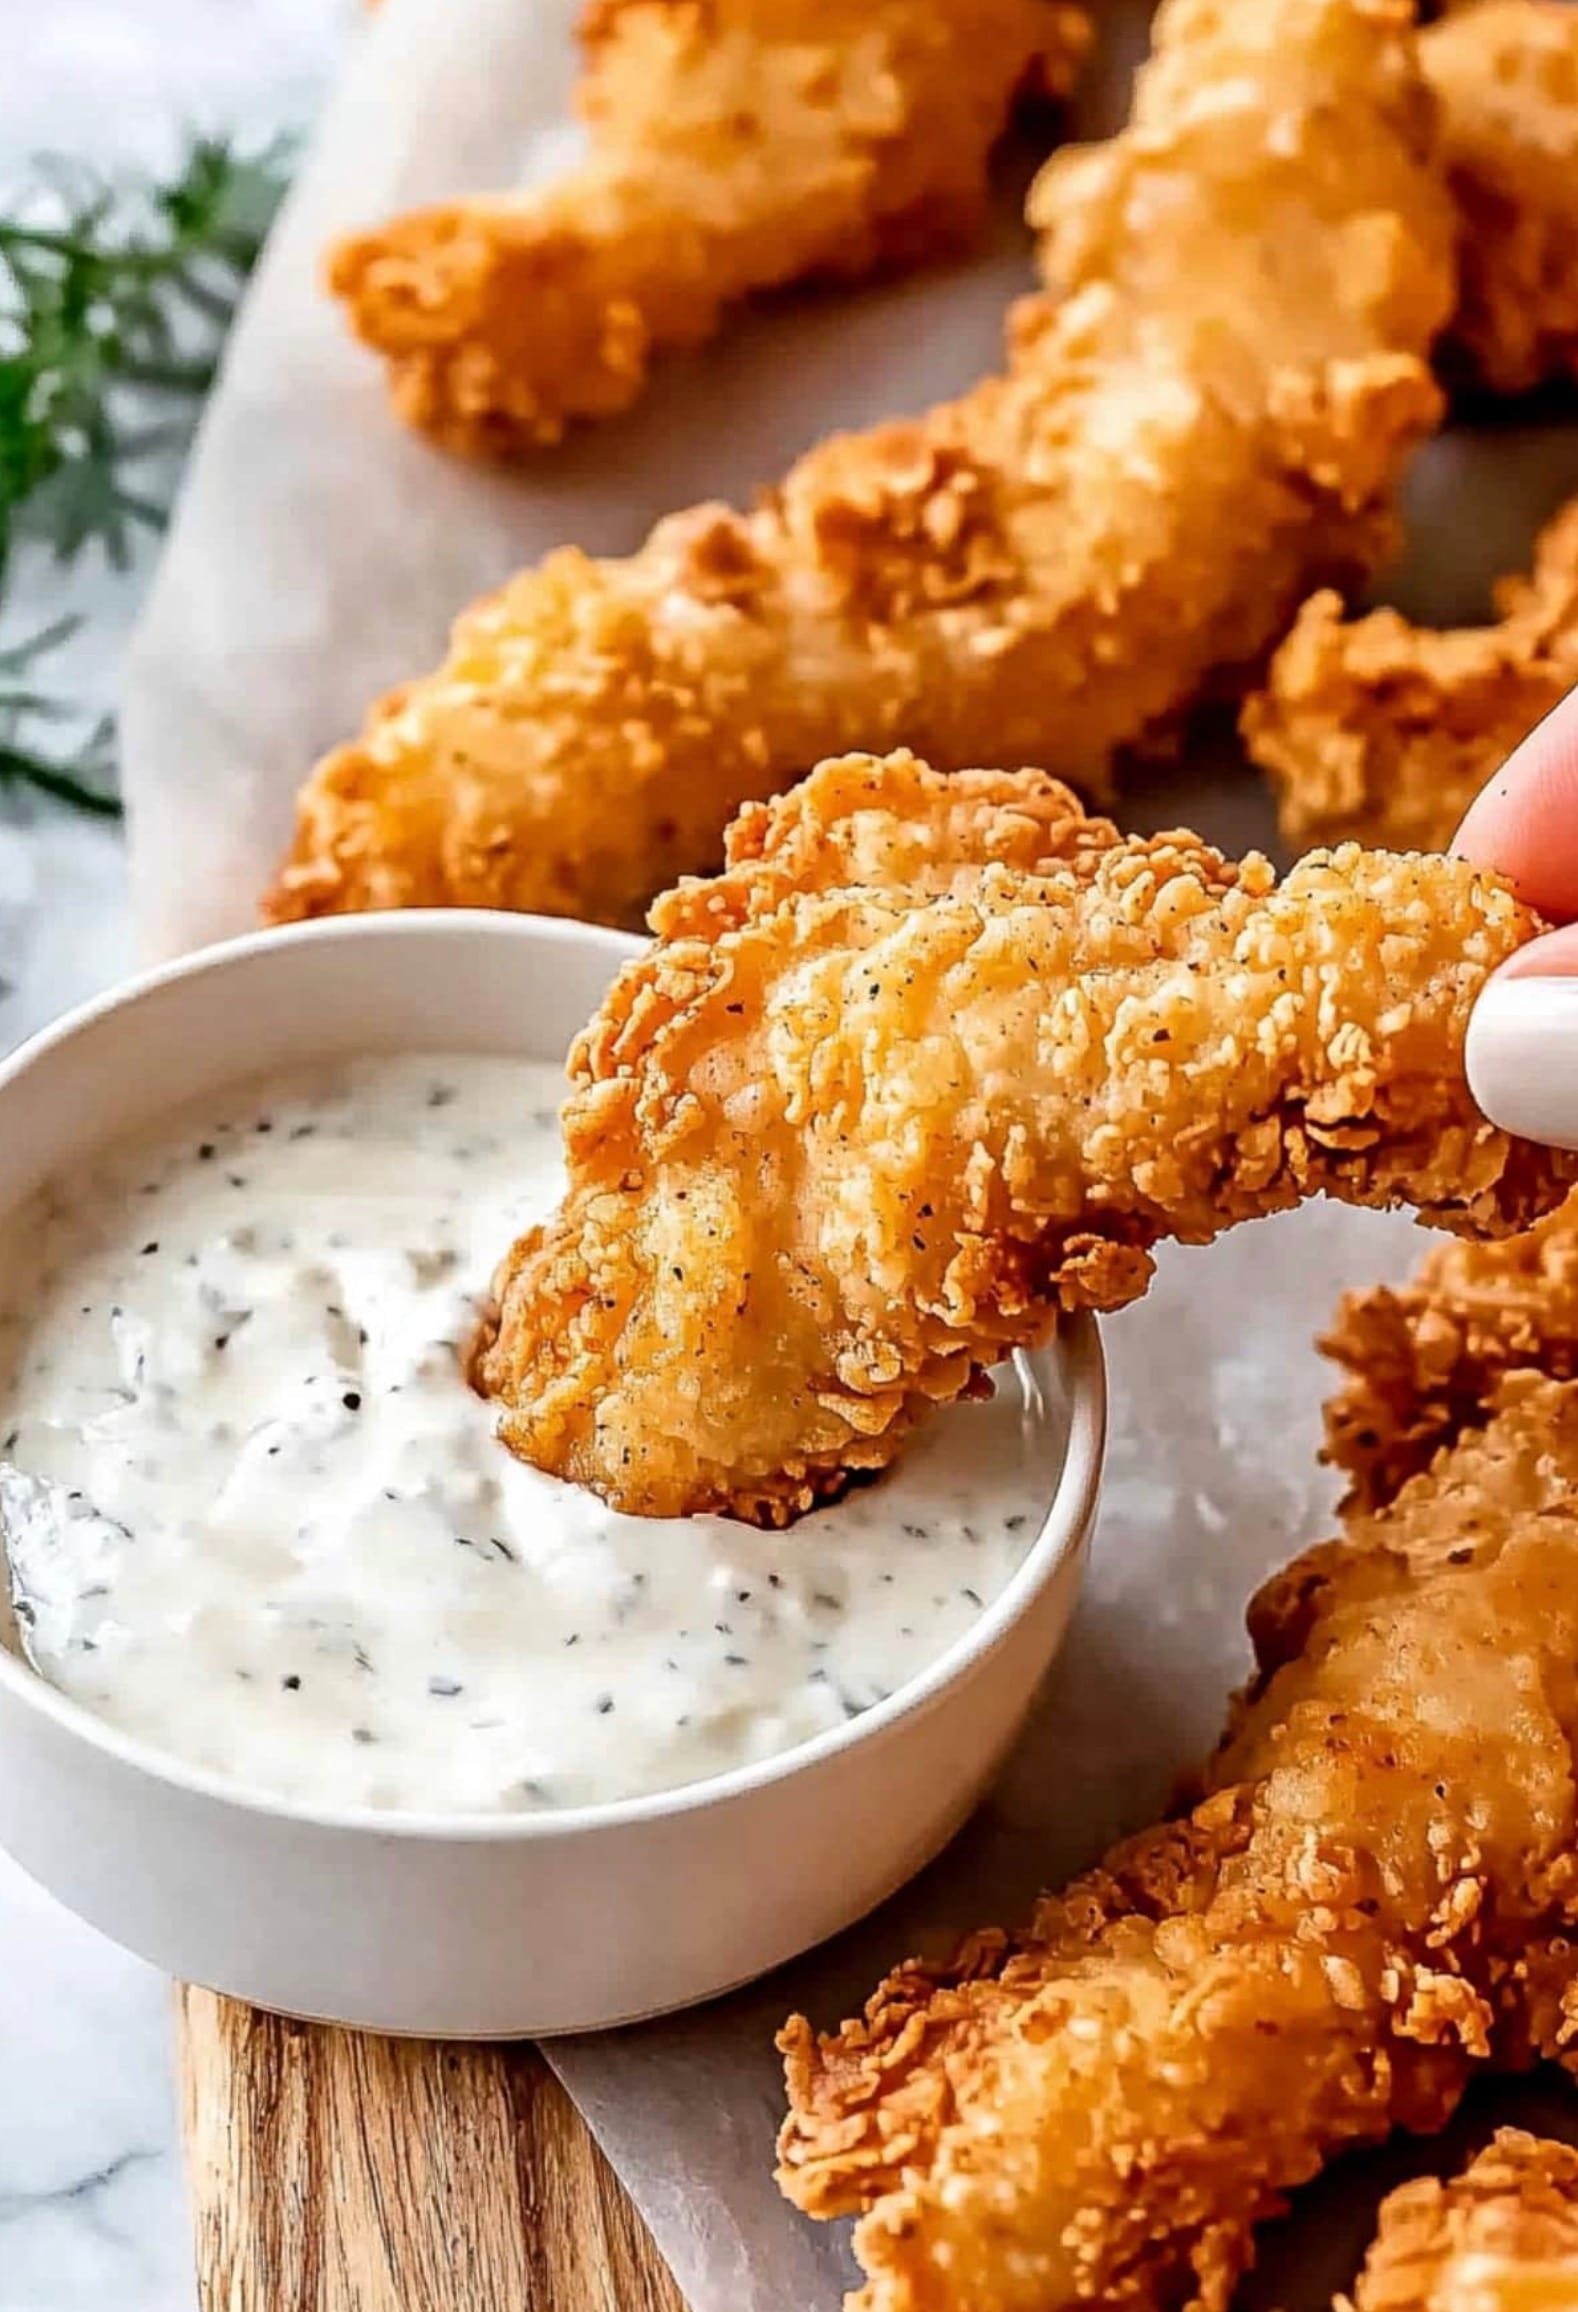
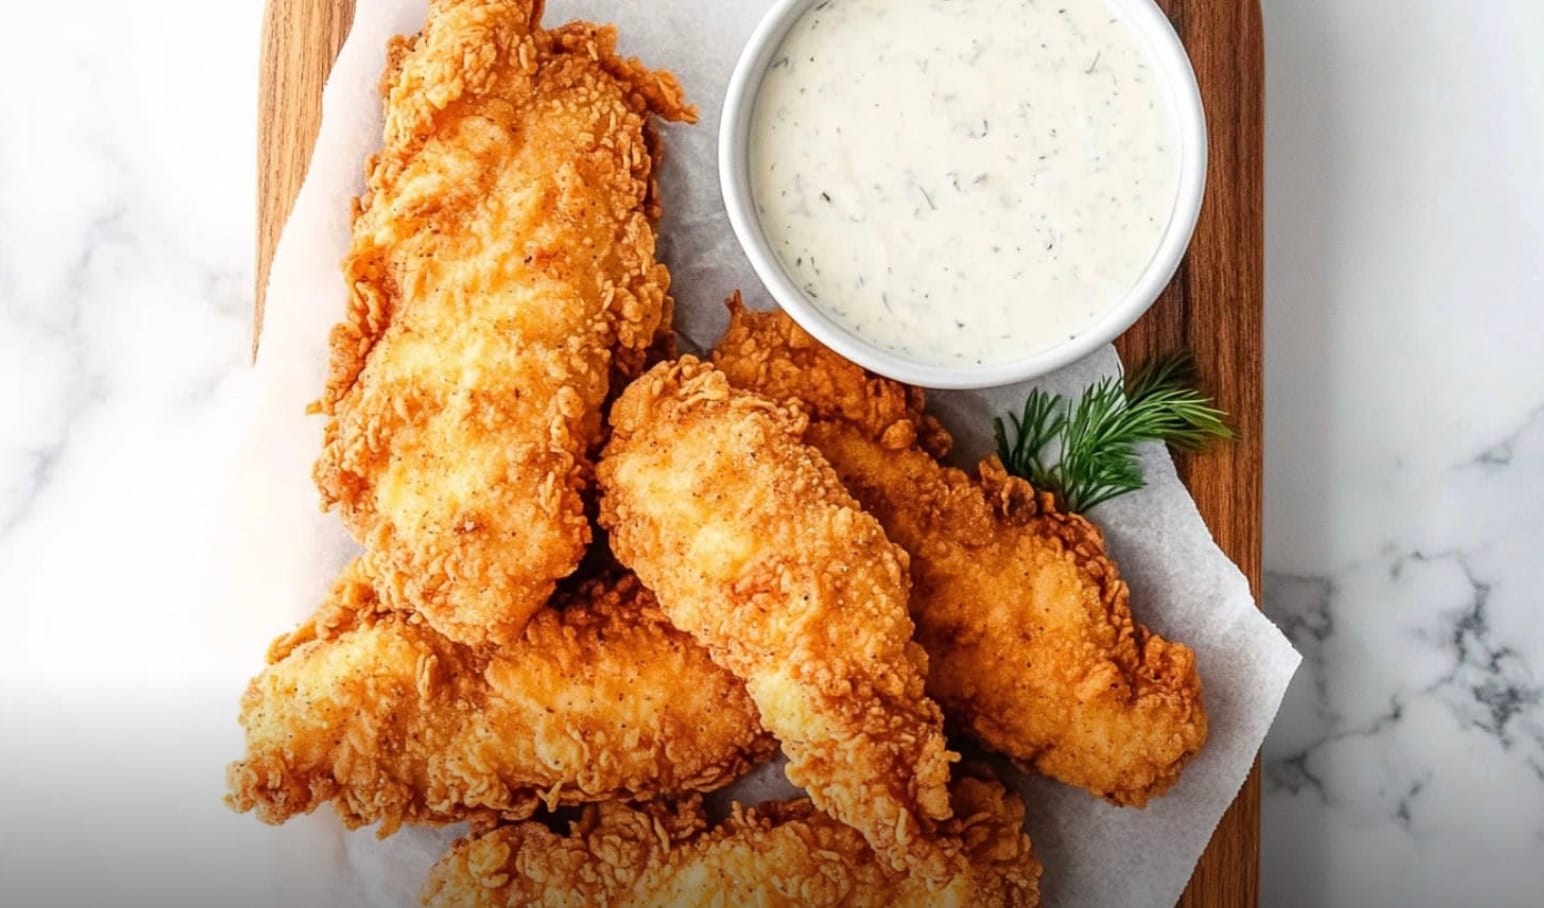
Craving crispy, juicy chicken tenders that will make your taste buds dance? Look no further! These buttermilk fried chicken tenders are so tasty, they’ll rival your favorite restaurant’s version. With a quick prep time of 20 minutes and about an hour of cooking, you’ll have a mouthwatering meal ready in no time.
The secret to these tenders is the buttermilk marinade. It keeps the chicken super moist and adds a tangy flavor that pairs perfectly with the crispy coating. You can even spice things up by adding some hot sauce to the mix. Don’t forget to let the chicken rest in the coating before frying – this helps create that extra-crispy exterior you’re after.
Exact Ingredients List
Here’s what you’ll need to make these crispy buttermilk fried chicken tenders:
For the Marinade:
- 2 cups buttermilk
- 1 tablespoon hot sauce (optional)
- 1 teaspoon garlic powder
- 1 teaspoon onion powder
- 1 teaspoon smoked paprika
- 1 teaspoon salt
- 1/2 teaspoon black pepper
- 1 1/2 pounds chicken tenders
For the Dredge:
- 2 cups all-purpose flour
- 1/2 cup cornstarch
- 1 tablespoon smoked paprika
- 1 teaspoon garlic powder
- 1 teaspoon onion powder
- 1 teaspoon cayenne pepper (optional)
- 1 teaspoon salt
- 1/2 teaspoon black pepper
- 1 teaspoon baking powder
For Frying:
- Vegetable oil (enough to fill your pan 2-3 inches deep)
Make sure you have all these ingredients ready before you start cooking. The hot sauce and cayenne pepper are optional, so you can skip them if you prefer milder chicken tenders.
Remember to adjust the amounts if you’re cooking for more or fewer people. This recipe makes about 4 servings.

Instructions
Mix the buttermilk, hot sauce, and spices in a big bowl. Add the chicken and make sure it’s covered. Let it sit in the fridge for at least 2 hours.
In another bowl, mix the flour, cornstarch, and spices for the coating. Heat oil in a big pot to 350°F.
Take the chicken out of the buttermilk and let it drip. Roll it in the flour mix and press it on well. Let it sit for 10 minutes.
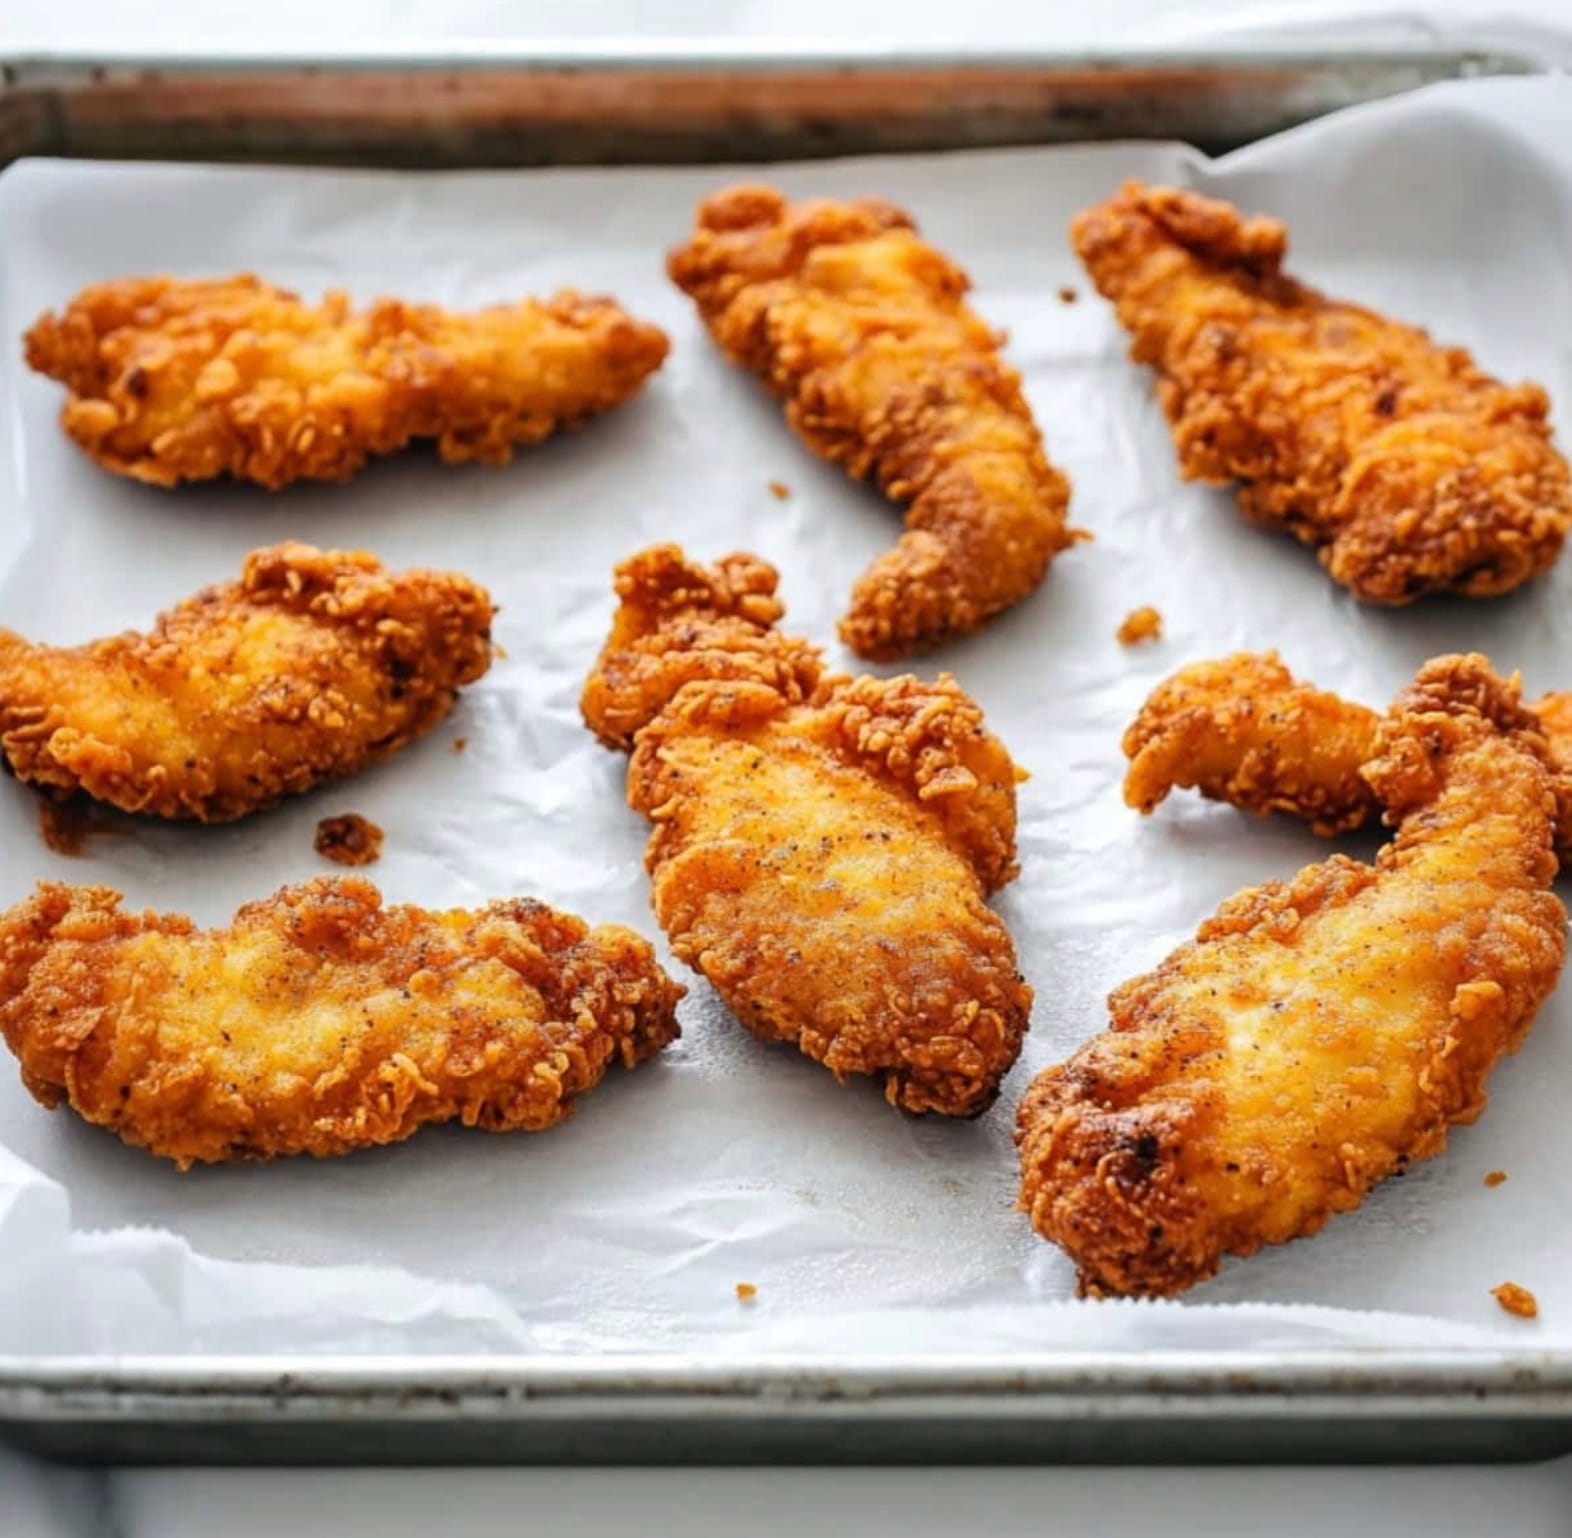
Fry the chicken in batches for 4-5 minutes each side. Don’t crowd the pot. Cook until it’s golden and 165°F inside.
Use tongs to take the chicken out. Put it on a wire rack to drain.
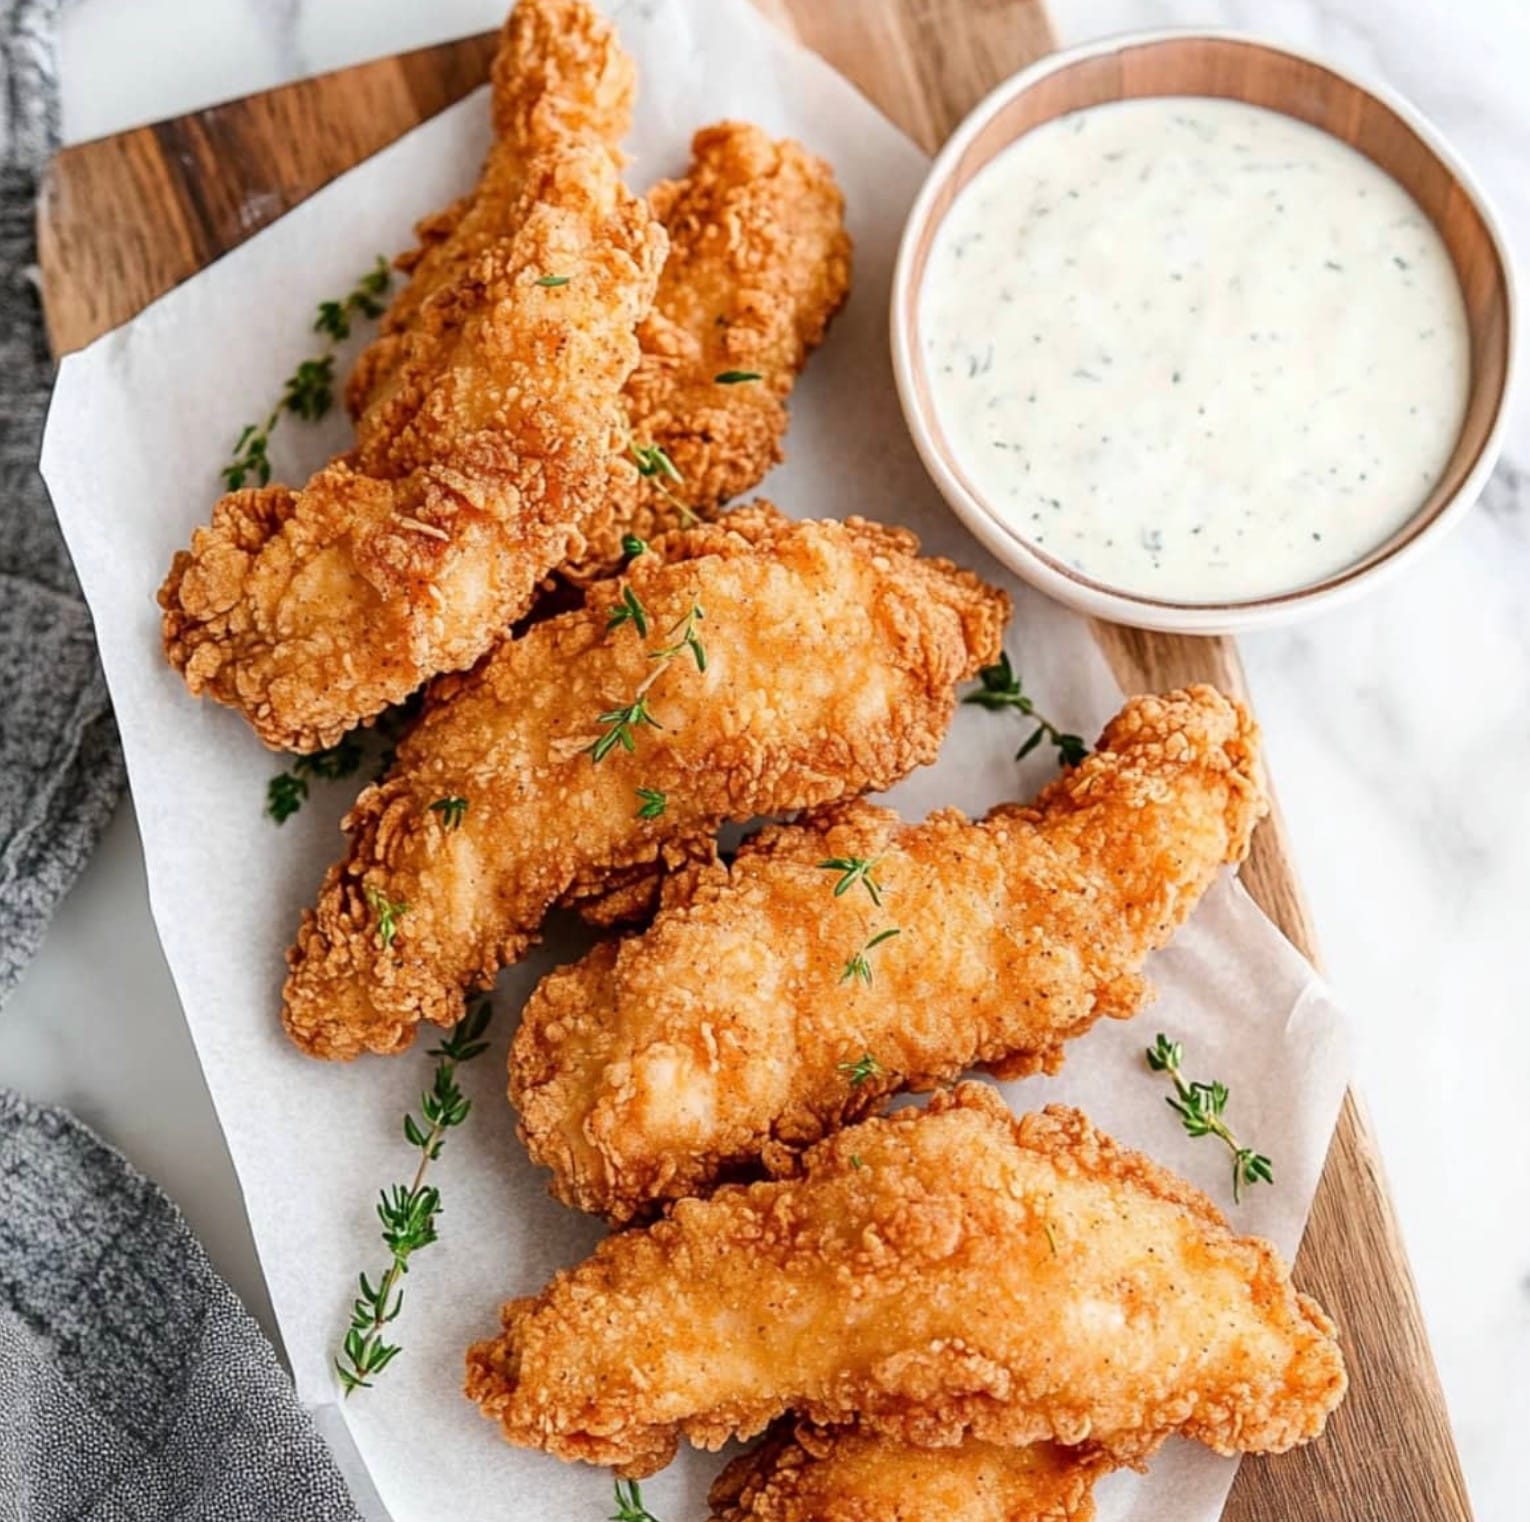
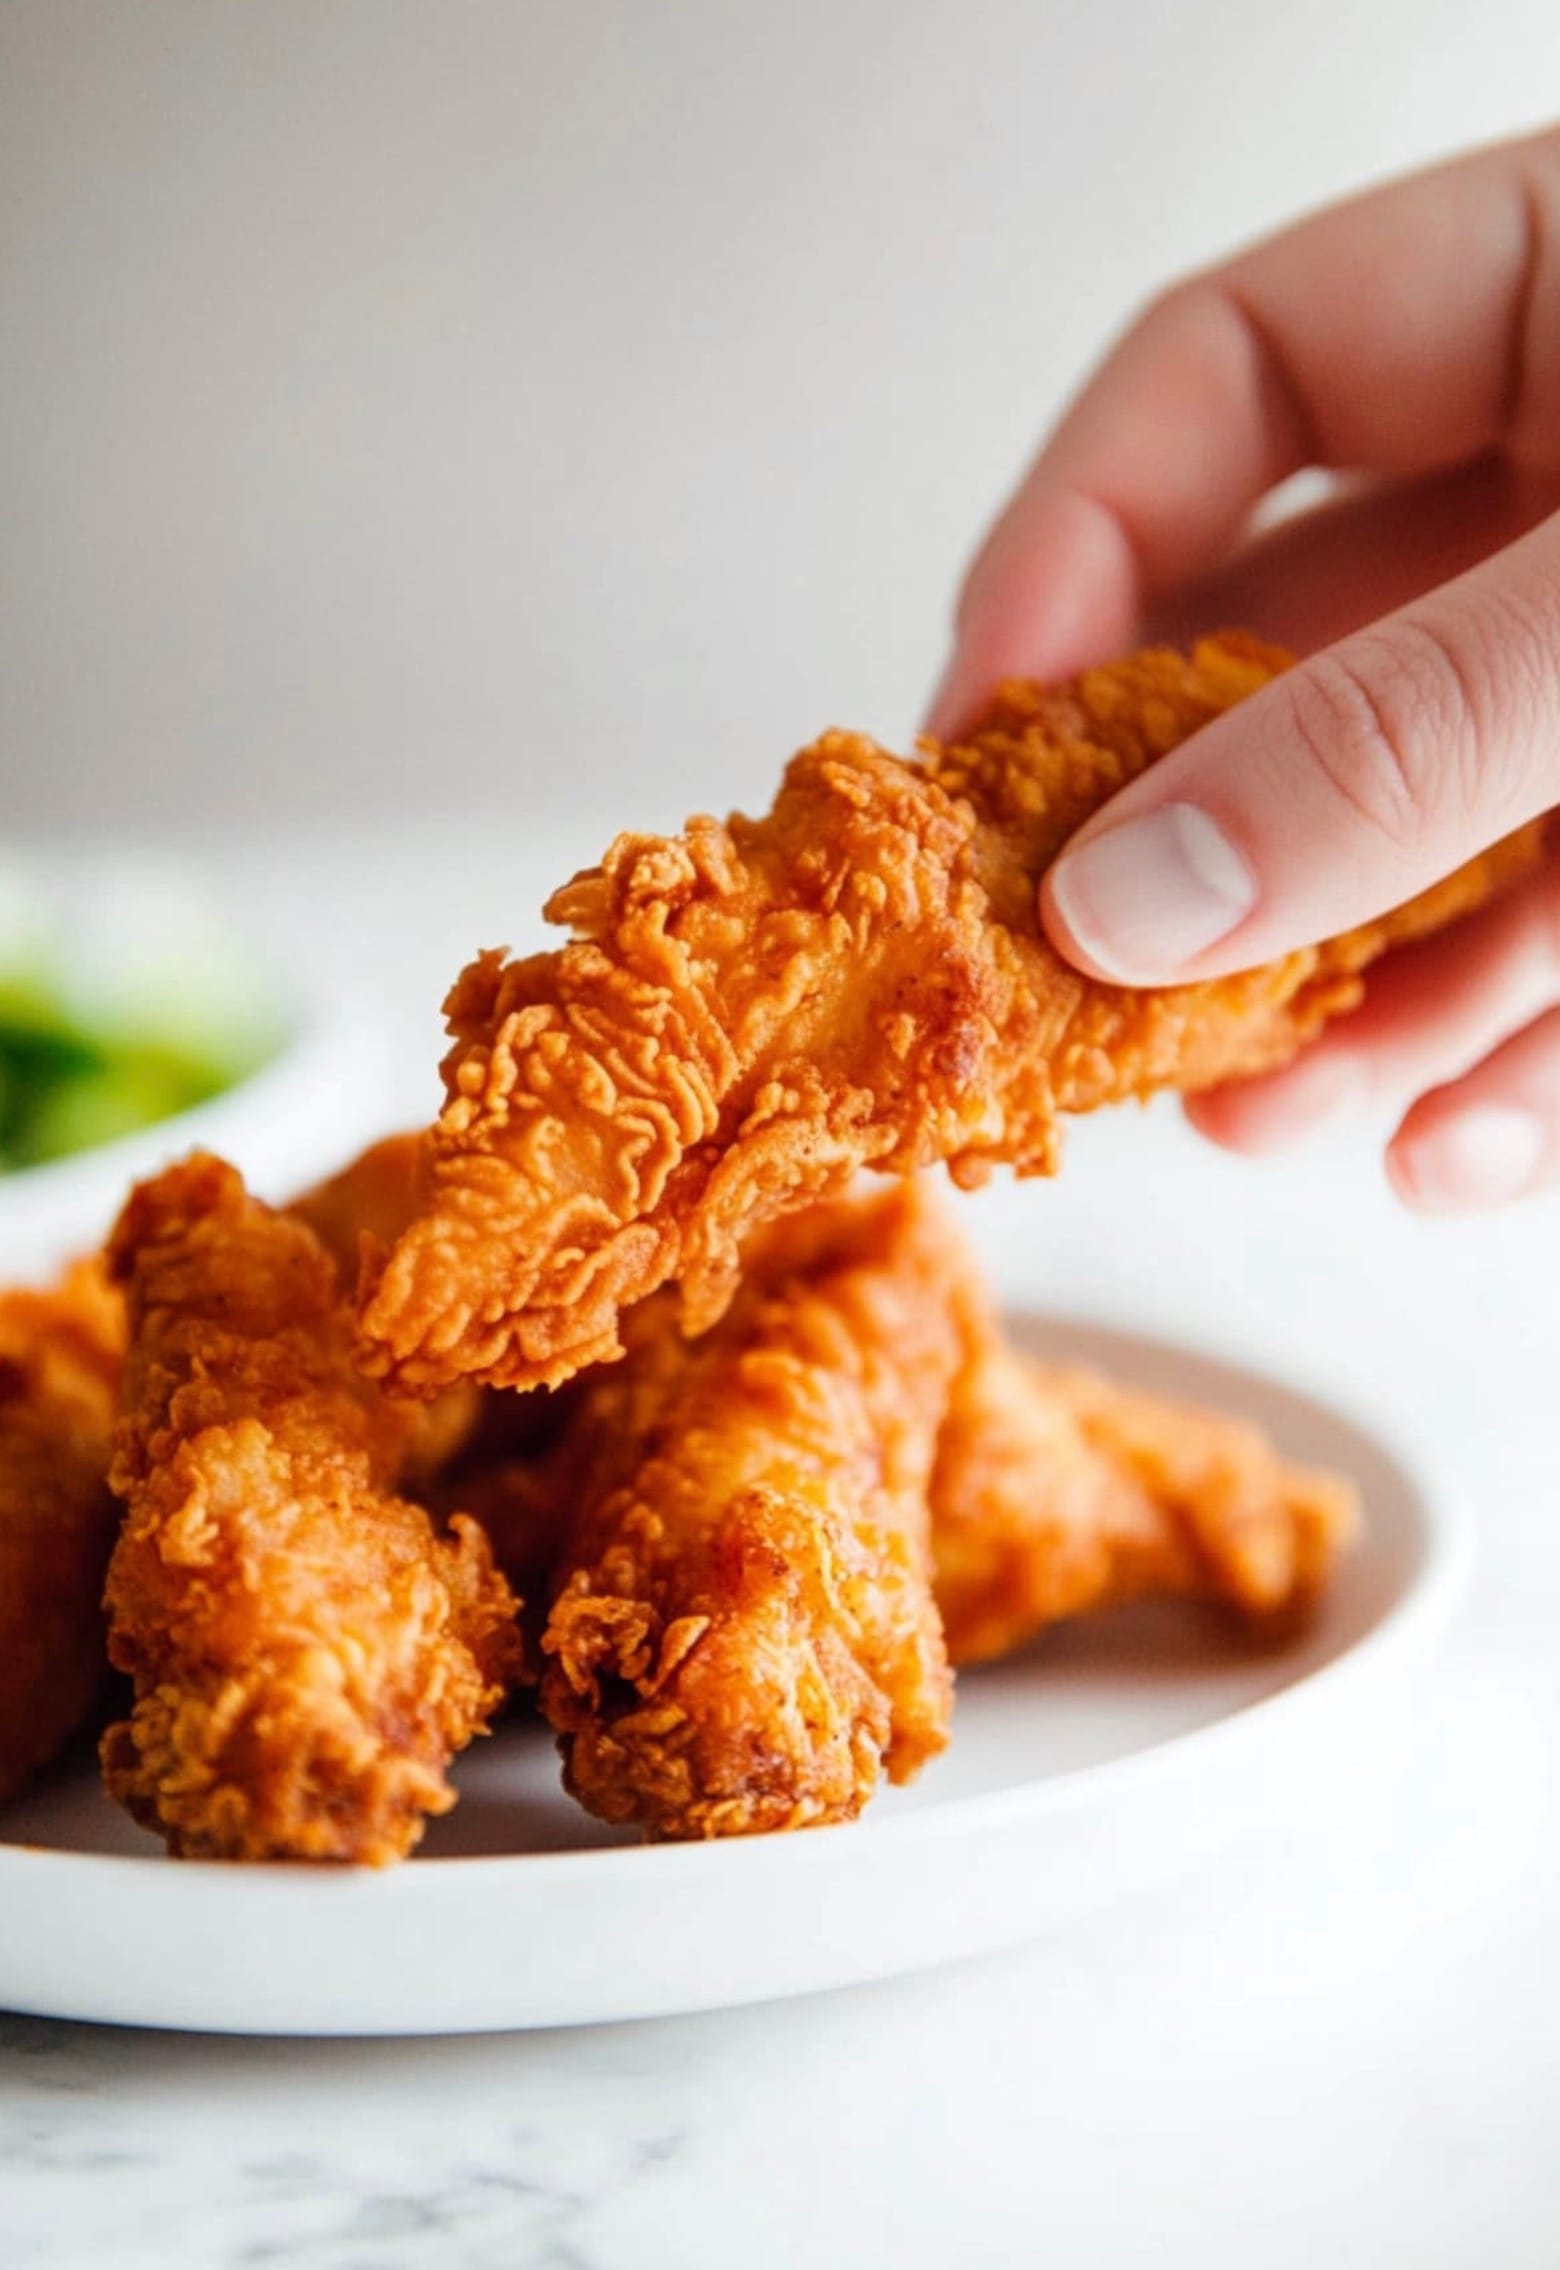
Serve your crispy tenders hot with your favorite dips. Enjoy your tasty meal!
Possible Substitutes List
No buttermilk? No problem! You can make tasty fried chicken tenders with these easy swaps:
Milk + Lemon Juice: Mix 1 cup milk with 1 tablespoon lemon juice. Let it sit for 5 minutes.
Yogurt: Thin plain yogurt with a bit of water to match buttermilk’s consistency.
Sour Cream: Dilute sour cream with water until it’s pourable like buttermilk.
Kefir: Use this tangy fermented milk drink as-is in place of buttermilk.
Non-Dairy Options:
- Almond milk + vinegar
- Soy milk + lemon juice
- Coconut milk + lime juice
Mix 1 cup of any non-dairy milk with 1 tablespoon of acid (vinegar, lemon, or lime juice). Let it sit for 5 minutes before using.
Remember, these subs might change the flavor a bit, but they’ll still give you crispy, juicy chicken tenders. Pick the one that fits your diet or what you have in your kitchen. Happy cooking!
How To Make It Diabetes-Friendly
To make these chicken tenders diabetes-friendly, you can make a few simple changes. Start by using whole wheat flour instead of all-purpose flour. This swap adds fiber and lowers the glycemic index.
Try using an air fryer or baking the tenders instead of deep frying. This cuts down on oil and calories. If you use an air fryer, spray the tenders lightly with cooking oil spray before cooking.
Here’s a quick guide to air frying:
- Preheat air fryer to 375°F
- Cook tenders for 10-12 minutes, flipping halfway
- Check internal temp reaches 165°F
You can also reduce the amount of salt in the recipe. Try using herbs and spices to add flavor without extra sodium.
For the marinade, use low-fat buttermilk or plain Greek yogurt thinned with a little milk. This keeps the chicken moist while cutting some fat and calories.
Consider these coating alternatives:
- Crushed cornflakes
- Almond flour
- Ground pork rinds
These options can lower carbs while still giving a crispy texture. Remember to count carbs and adjust portion sizes to fit your meal plan.
Pair your tenders with veggie sides like a crisp salad or roasted Brussels sprouts for a balanced meal. With these tweaks, you can enjoy tasty chicken tenders that fit into a diabetes-friendly diet.
Tips, Tricks & Storing
For extra crispy chicken, double-dip your tenders. After the first coating, dip them back in the buttermilk and then into the flour mix again. This creates an extra crunchy exterior.
Keep your oil temperature steady at 350°F. If it’s too low, your chicken will be greasy. Too high, and it’ll burn on the outside while staying raw inside.
Don’t overcrowd the pan when frying. This lowers the oil temperature and leads to soggy chicken. Fry in small batches for best results.
Let your fried tenders rest on a wire rack, not paper towels. This keeps them crispy on all sides.
To store, let the tenders cool completely. Place them in an airtight container and refrigerate for up to 3 days. For longer storage, freeze them for up to 3 months.
To reheat, bake the tenders in a preheated 375°F oven for 10-15 minutes until hot and crispy. Avoid microwaving as it makes them soggy.
Try these tasty variations:
- Add herbs like thyme or rosemary to the flour mix
- Use panko breadcrumbs for extra crunch
- Sprinkle with grated parmesan right after frying